Opening the Sections Panel
The sections panel is your library of all available sections. To open it:Open the sections panel
Click the Add Section button in the left sidebar of the builder, or use the keyboard shortcut. The sections panel will slide open, showing all available categories.
Browsing by Category
The sections panel organizes all sections into clear categories. Each category shows:- The category name and icon
- The number of sections available in that category
- A preview panel that appears when you hover over a category
Searching for Sections
If you know what type of section you want, use the search bar at the top of the sections panel:- Type a keyword into the Search sections field (e.g., “testimonial”, “hero”, “banner”).
- The panel instantly filters across all categories, showing matching sections by name or description.
- Click any result to add it to your page.
Adding a Section to Your Page
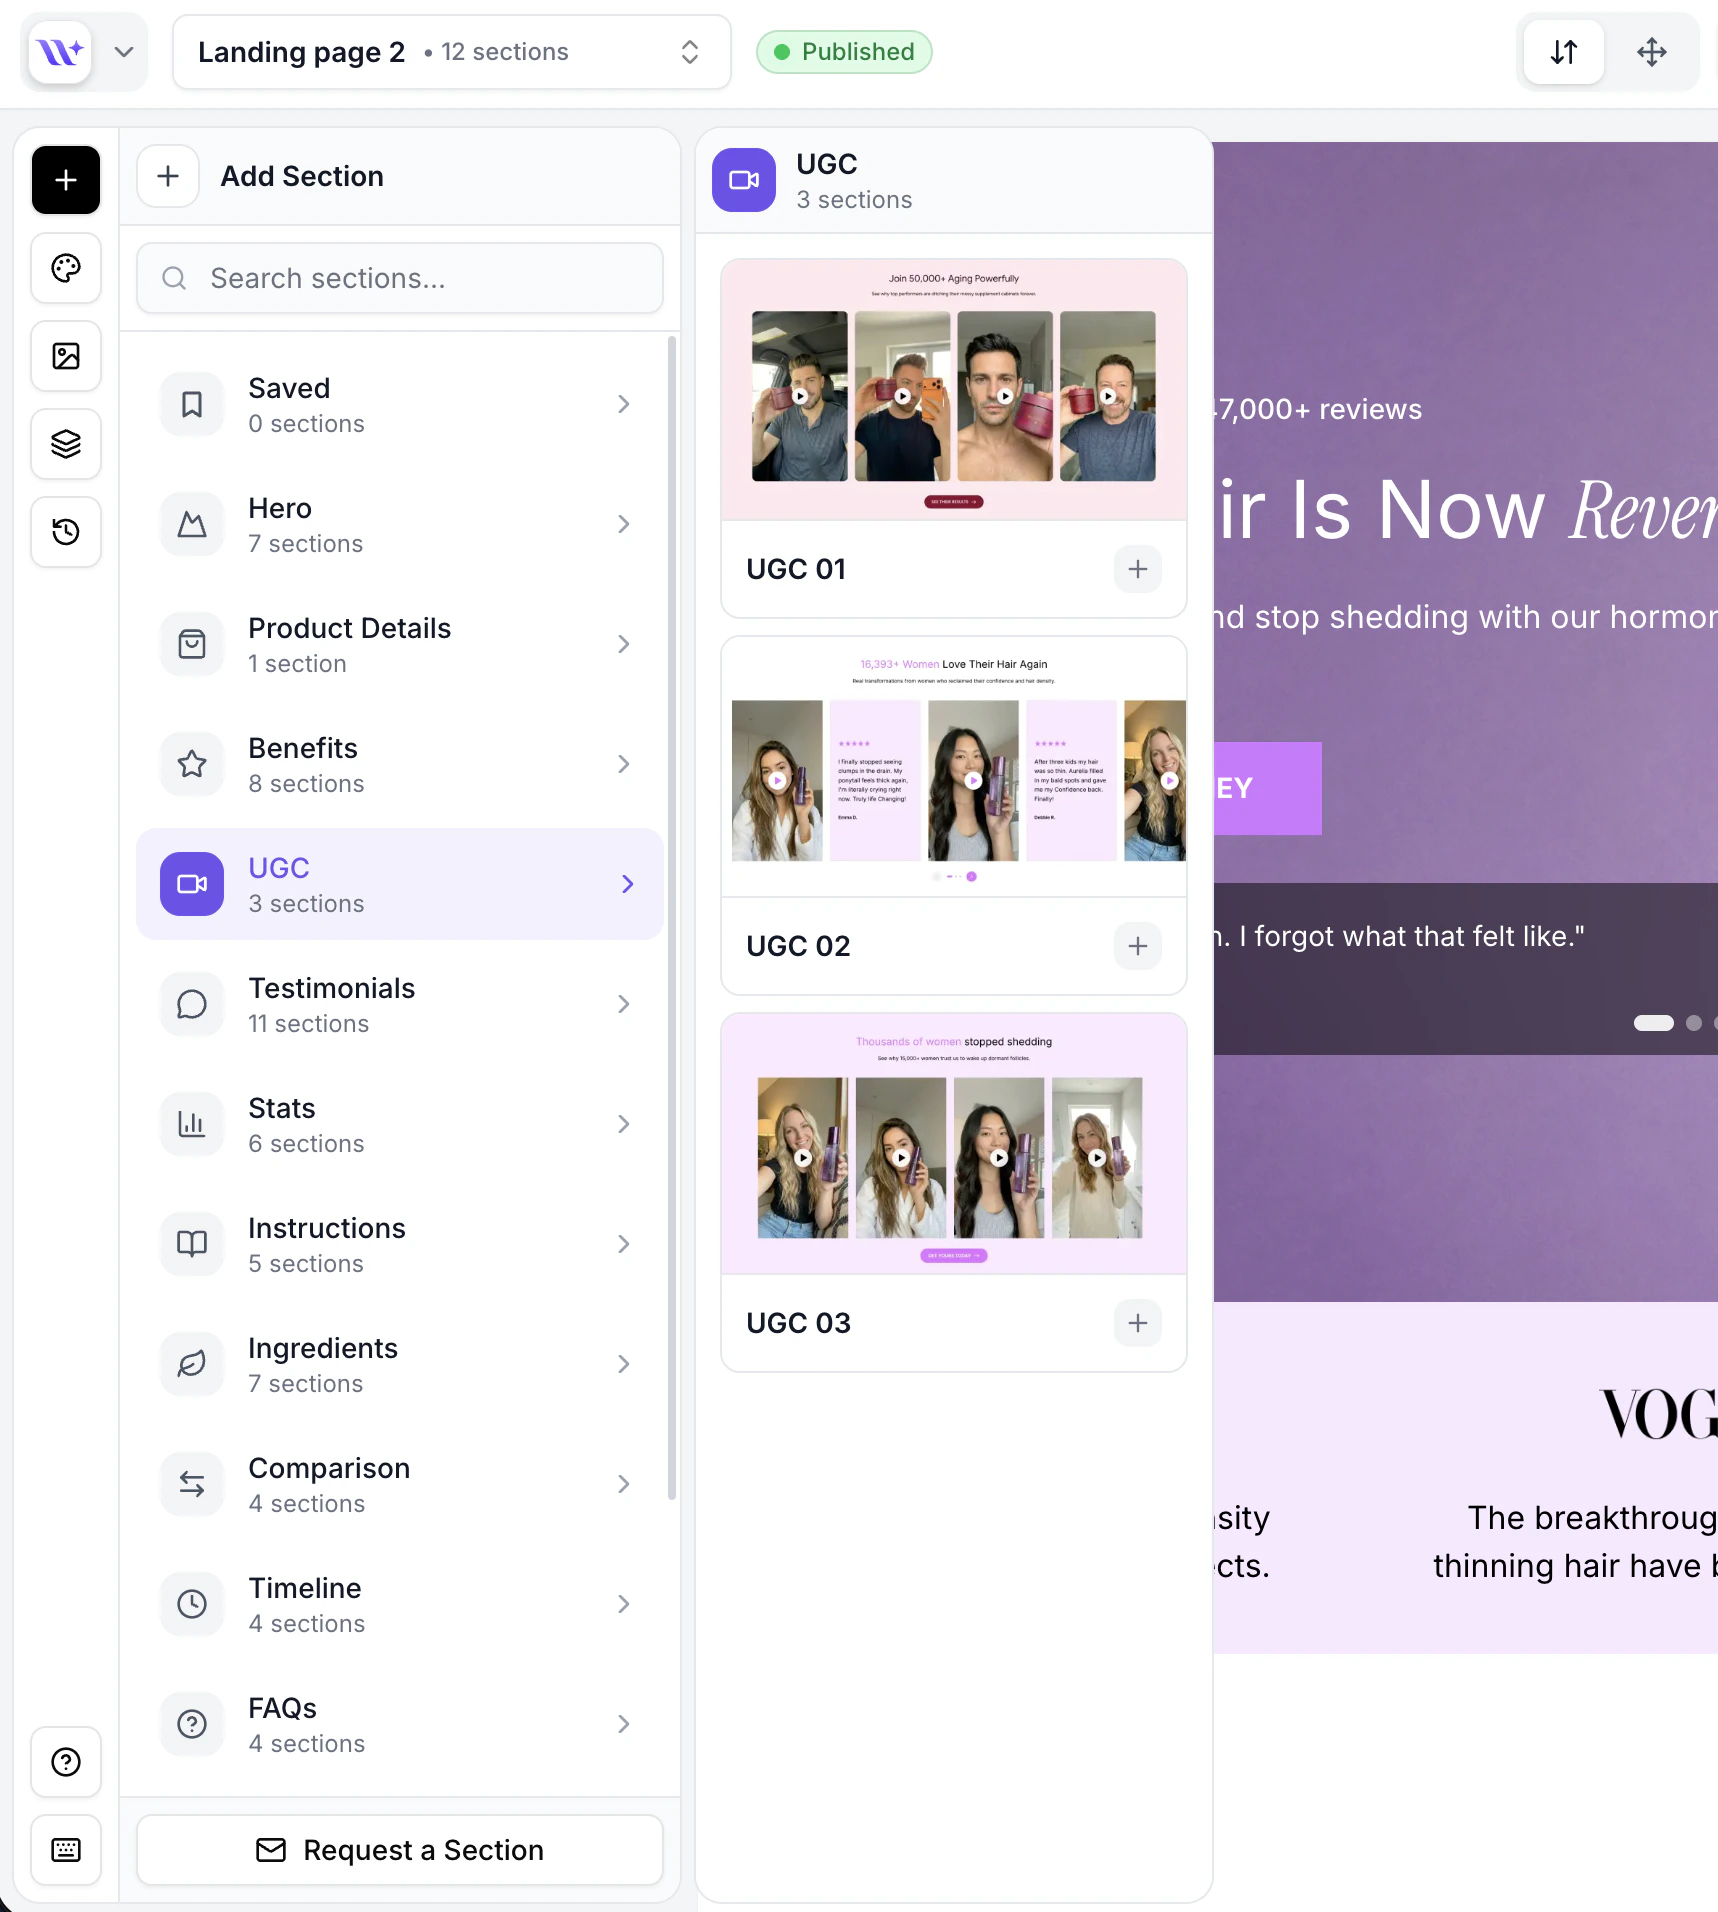
To add a section to your canvas:Hover over a category
Move your mouse over a section category in the left sidebar to open its preview panel.
Click a section to add it
Click on any section preview card. The section is instantly added to your page and the canvas scrolls to show it.
By default, new sections are added at the bottom of your page. If you use the “Add Section” button that appears between existing sections on the canvas, the new section will be inserted at that specific position instead.
Reordering Sections After Adding
Once a section is on your canvas, you can drag it to any position:- Hover over the section on the canvas to reveal the section toolbar.
- Grab the drag handle on the section.
- Drag the section up or down to reorder it relative to other sections.
- Release to drop it in the new position.
Section Limits
Requesting New Sections
Can’t find the exact section you need? Click the Request a Section button at the bottom of the sections panel to submit a request to the EcomWize team. Describe what you need, and the team will consider adding it in a future update.AI-Powered Content Generation
When you add a new section and meet these conditions, EcomWize automatically generates content tailored to your page:- You have at least 10 AI credits available
- There is already at least one section on the canvas (so the AI has context)