Opening the Image Generation Modal
You can access AI image generation from two places:- From any image element — Click on an image in your section, then click the AI generation icon (sparkle/wand icon) in the image toolbar.
- From the Media Panel — Open the Media Panel and click the AI image generation button.
Text-to-Image Generation
Create images from scratch by describing what you want.Write a prompt
Describe the image you want to generate in the prompt field. Be specific about the subject, style, colors, composition, and mood.
Choose resolution
Select your preferred resolution:
- 1K (1024x1024) — 30 credits
- 2K (2048x2048) — 60 credits
Choose aspect ratio
Select the aspect ratio that fits your section layout:
- 1:1 — Square (default)
- 3:2 — Landscape
- 2:3 — Portrait
- 16:9 — Widescreen
- 9:16 — Vertical/mobile
- 4:3 — Standard landscape
- 3:4 — Standard portrait
Generate
Click the Generate button. The AI will process your prompt and produce an image. This usually takes 10-20 seconds.
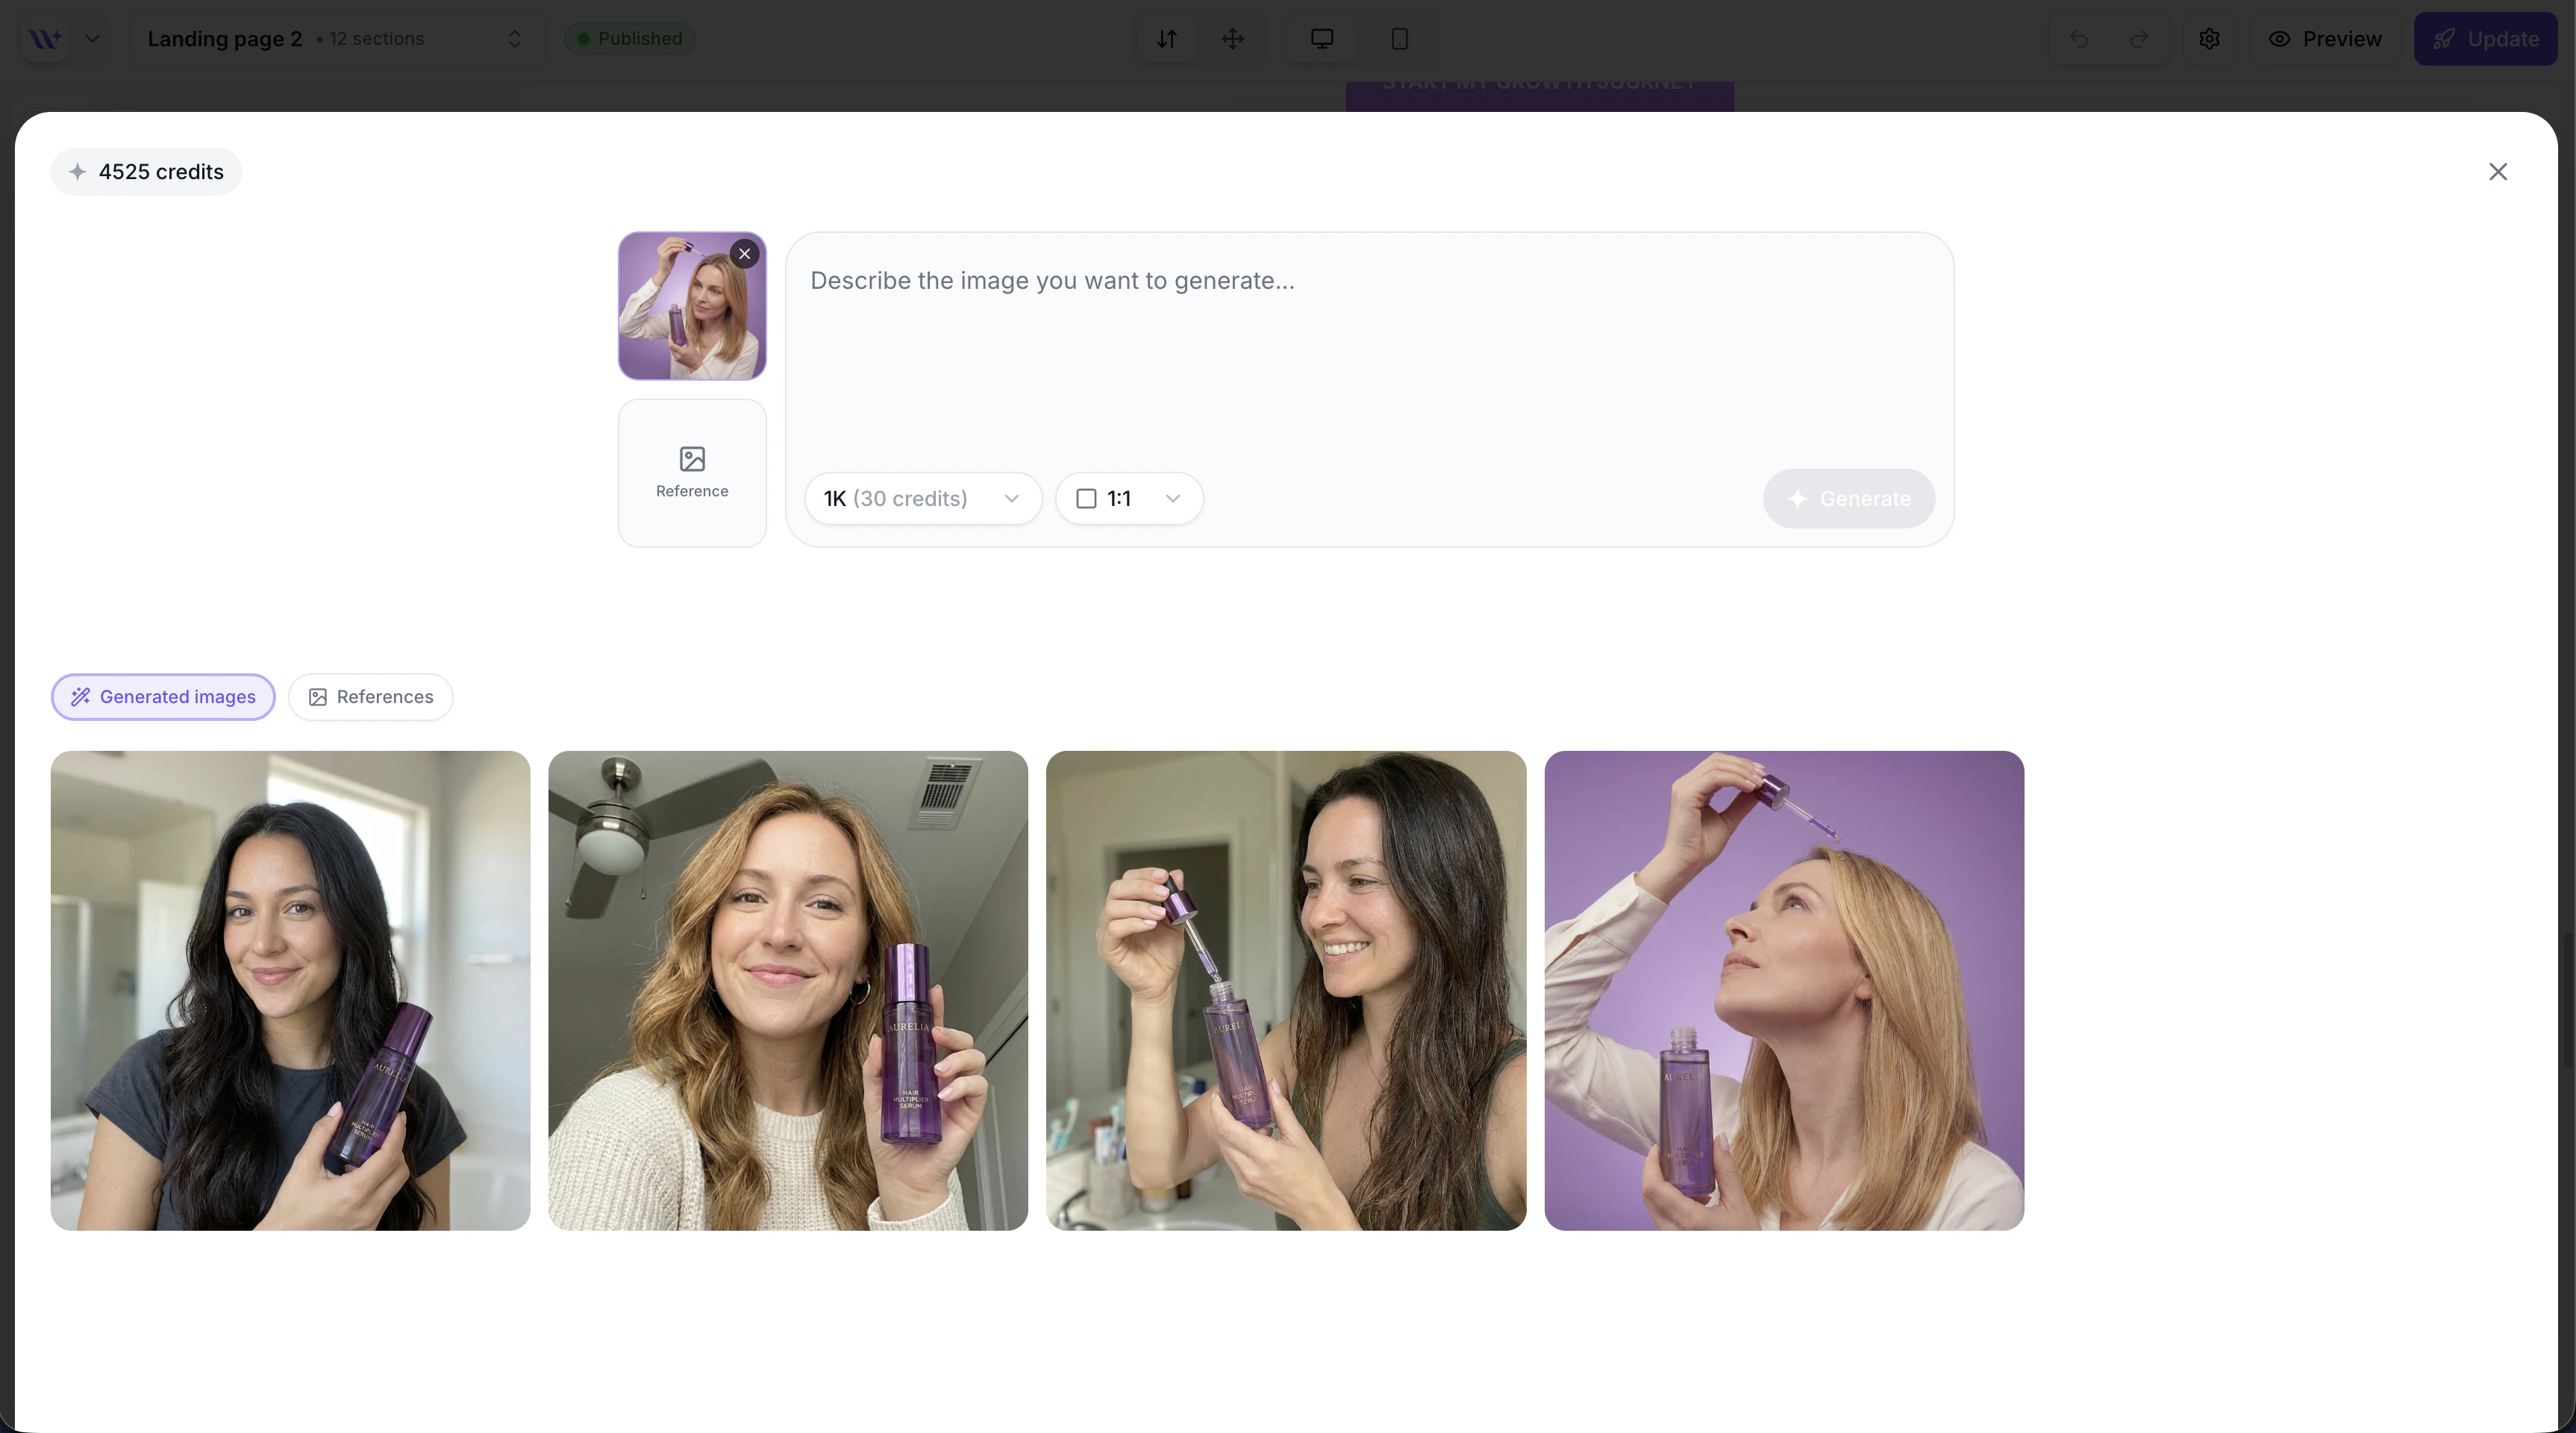
Image-to-Image (Style Transfer)
Transform an existing image or use a reference image to guide the AI’s output.Using a Main Image
If the image element you clicked already has an image, it will be loaded as the “main image” input. The AI will use this as a base and modify it according to your prompt. Use cases:- Change the background of a product photo
- Adjust lighting or color grading
- Add or remove elements from the image
Using a Reference Image
You can upload a separate reference image to guide the style of the generated output. This is useful for:- Matching the aesthetic of an existing brand photo
- Applying a specific art style or mood
- Creating consistency across multiple generated images
You can use a main image, a reference image, or both together with your text prompt. The AI combines all inputs to produce the final result.
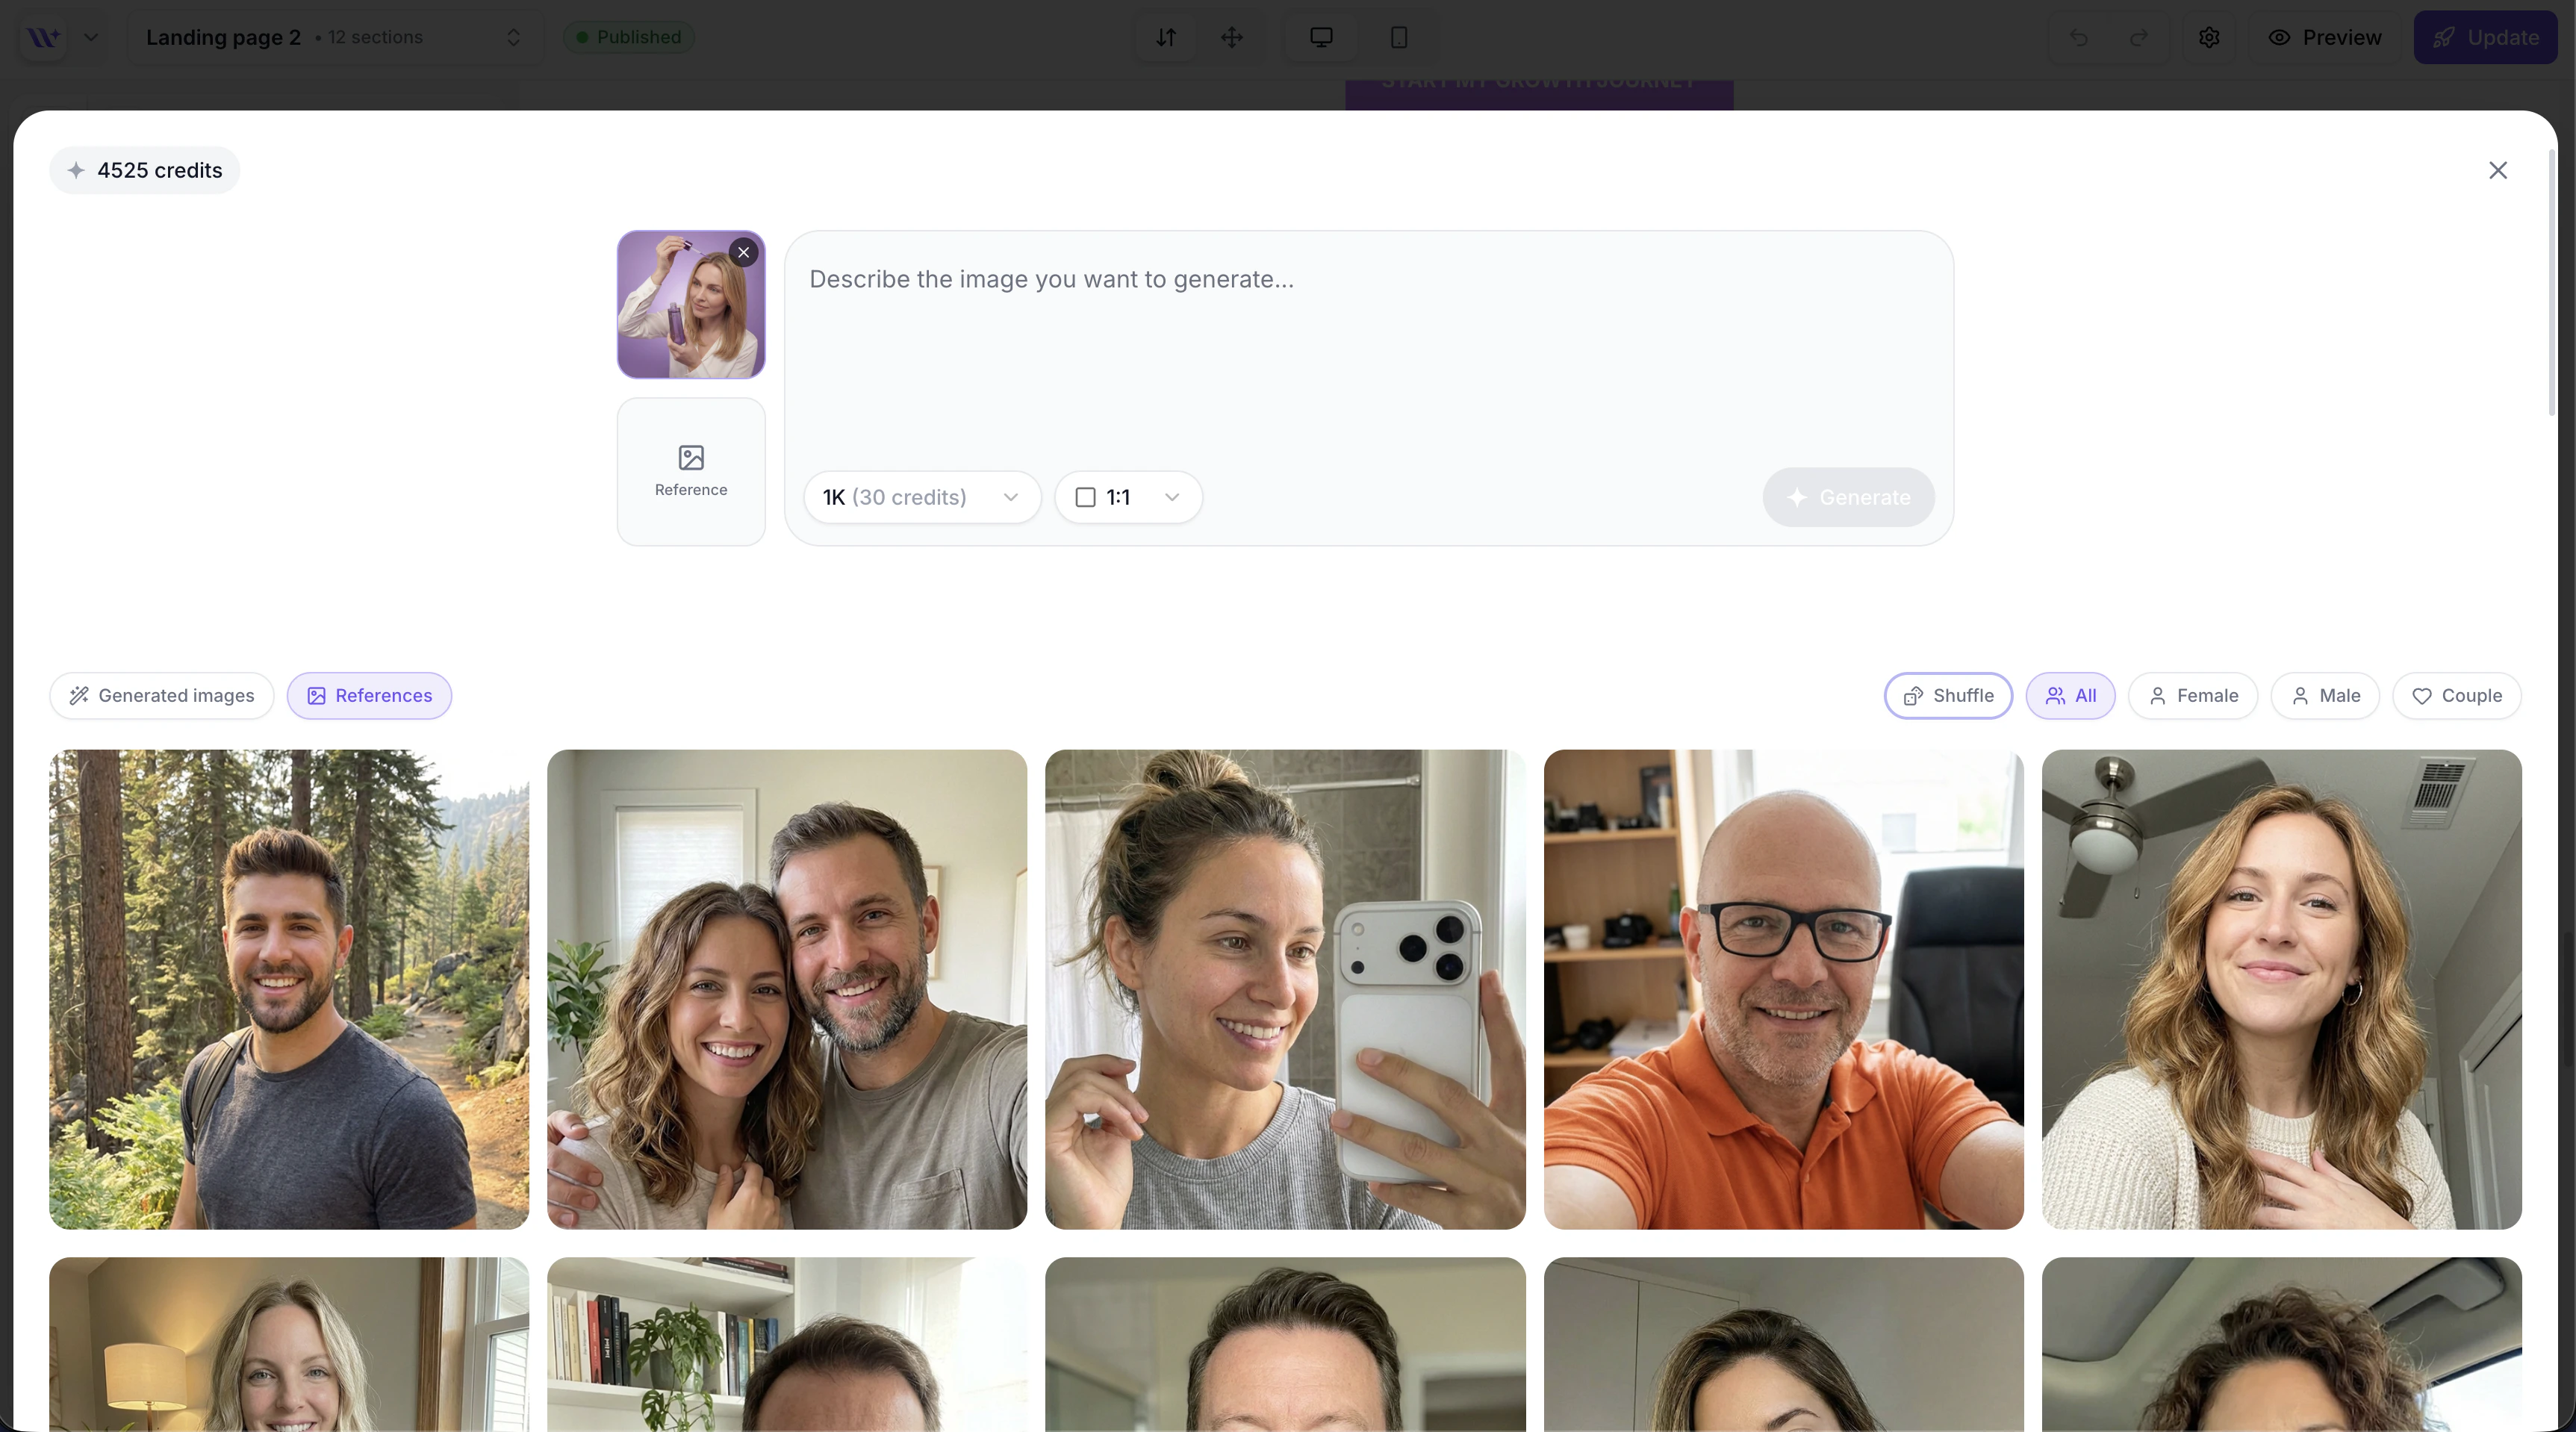
Avatar Library
EcomWize includes a library of pre-generated avatar images that you can use immediately without spending any credits. These are ideal for testimonial sections, team sections, and user-generated content sections. Avatars are organized into categories:- Female — Women’s portrait photos
- Male — Men’s portrait photos
- Couple — Photos of couples
- Other — Additional avatar styles
Resolution and Credit Costs
| Resolution | Output Size | Credit Cost |
|---|---|---|
| 1K | 1024 x 1024 pixels | 30 credits |
| 2K | 2048 x 2048 pixels | 60 credits |
Generated Image Storage
All AI-generated images are automatically:- Uploaded to the CDN — Stored on a global CDN for fast delivery
- Added to your media library — Available for reuse across any page or section
- Marked as AI-generated — Tagged with an “ai” source marker in the media library
Tips for Effective Image Generation
Be specific about style
Be specific about style
Include style keywords like “photorealistic,” “minimalist,” “flat illustration,” “watercolor,” or “3D render” to guide the visual style.
Specify composition
Specify composition
Describe the layout: “centered product on white background,” “overhead flat-lay,” “close-up detail shot,” or “full-width lifestyle scene.”
Match your brand colors
Match your brand colors
Reference specific colors in your prompt: “using a deep forest green (#0d3d3d) and warm gold accent palette” to maintain brand consistency.
Use reference images for consistency
Use reference images for consistency
When generating multiple images for the same page, use a reference image from the first generation to keep a consistent visual style across all images.
Start with 1K resolution
Start with 1K resolution
Generate at 1K first to test your prompt. Once you are happy with the result, regenerate at 2K if you need higher quality. This saves credits during the iteration process.