

Overview
The version system provides two types of saves:
Both types are stored in the version history panel and can be previewed or restored at any time.
Opening the Version History Panel
Click the History icon (clock icon) in the builder sidebar to open the version history panel. The panel displays all saved versions in reverse chronological order (newest first).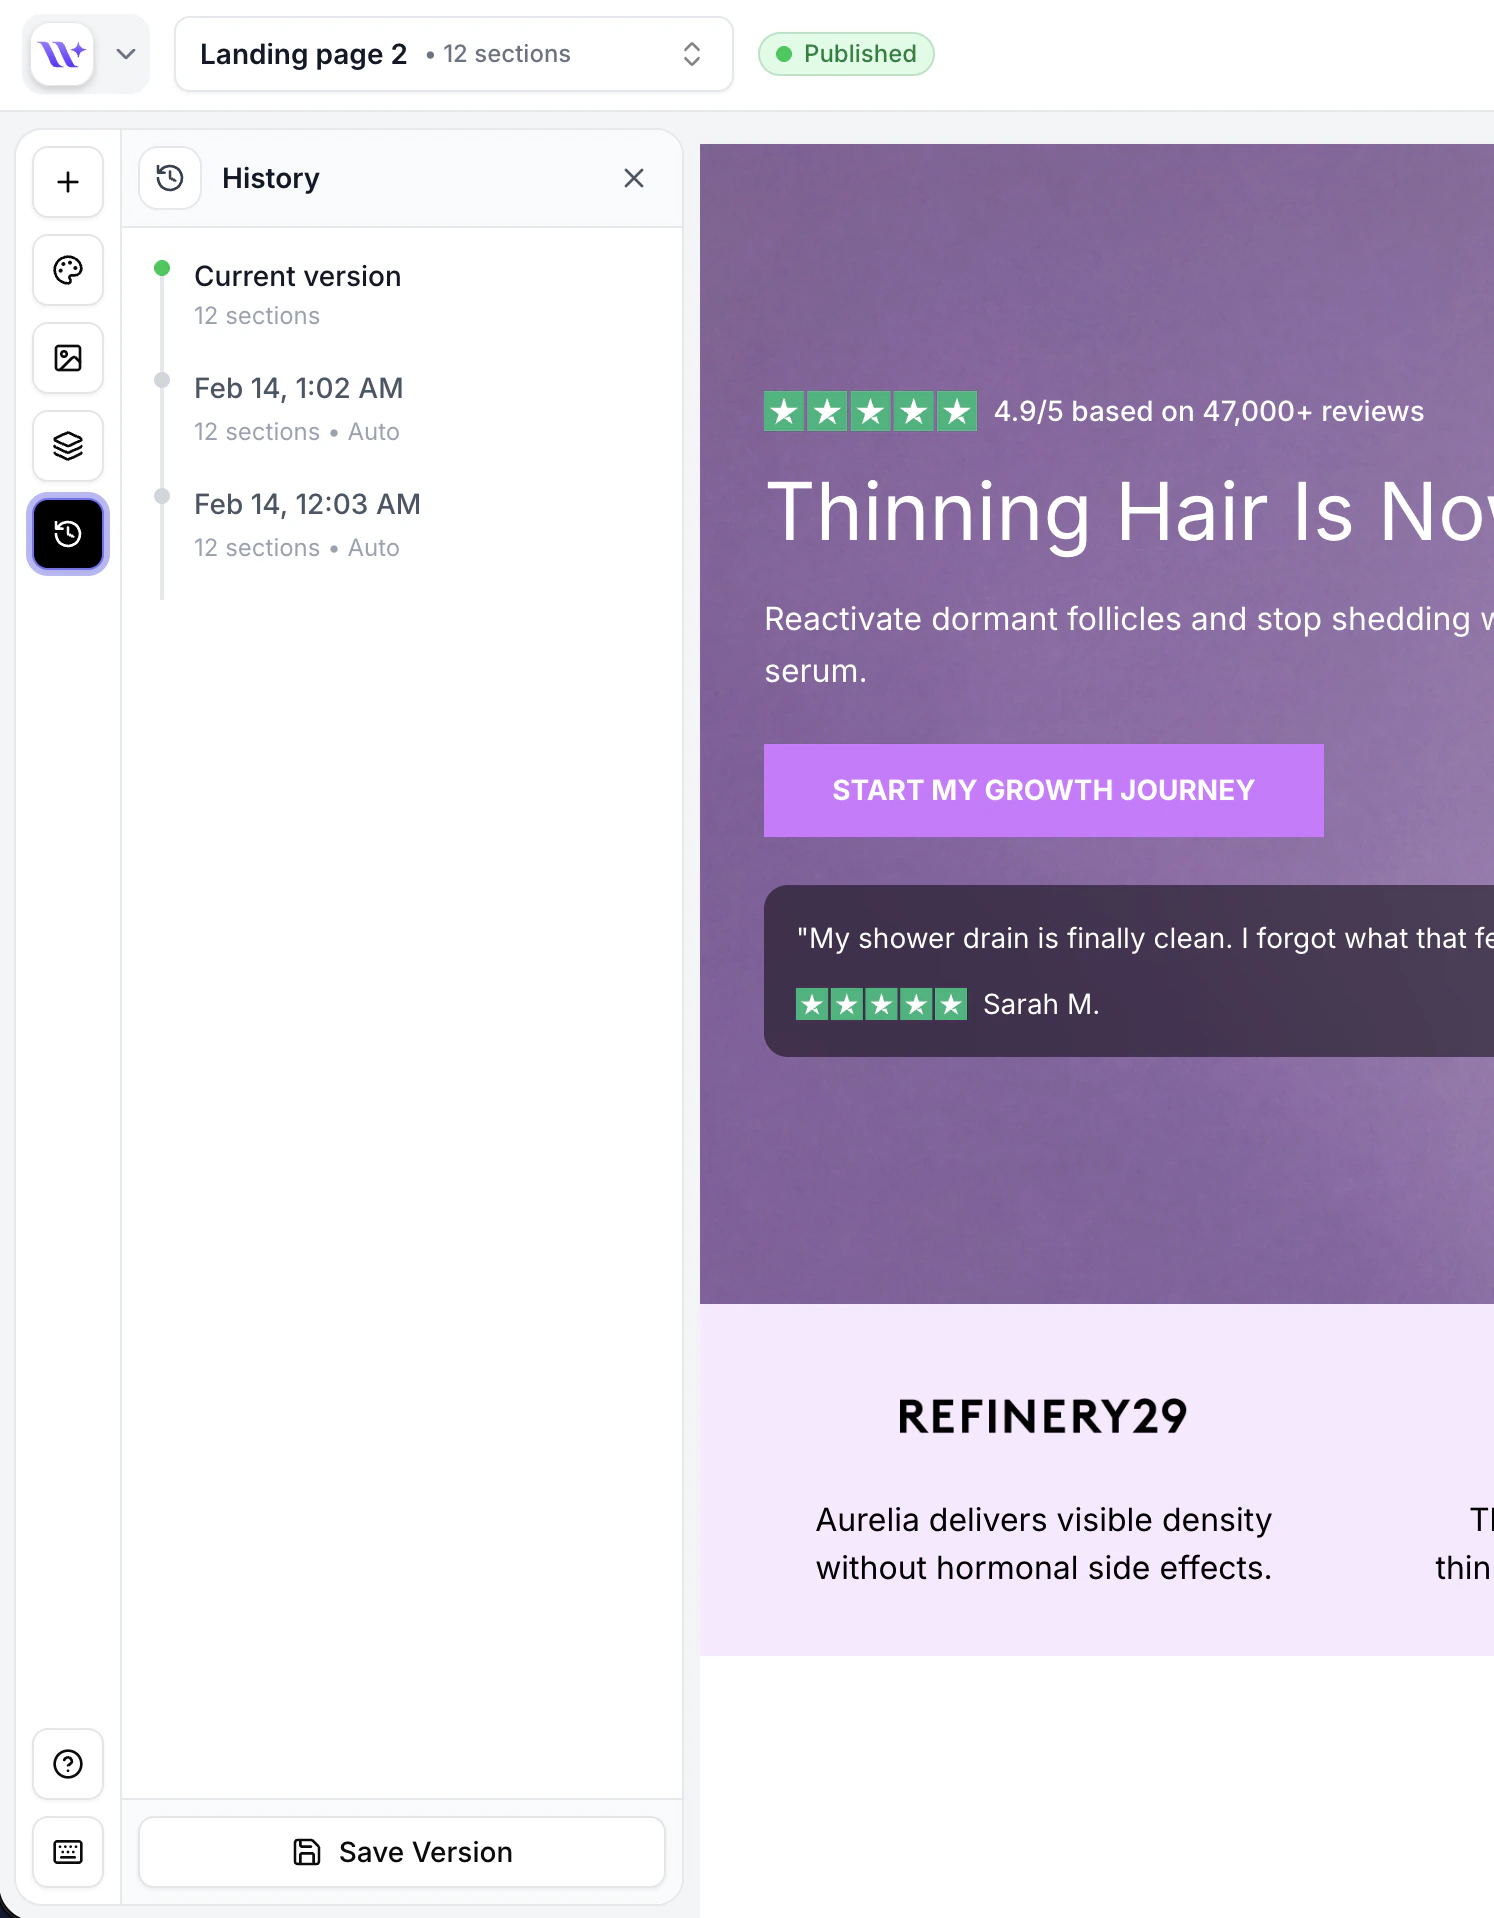
The version history panel showing saved versions with timestamps.
Saving a Version Manually
1
Open the history panel
Click the History icon in the builder sidebar.
2
Click Save Version
Click the Save button (floppy disk icon) at the top of the panel. A new manual version is created from the current state of your page.
3
Verify the save
The new version appears at the top of the list with a timestamp and section count. Manual versions are labeled to distinguish them from auto-periodic backups.
Auto-Periodic Versions
EcomWize automatically creates periodic backup versions while you work. These are labeled as “auto_periodic” in the version type and serve as automatic safety nets.Auto-periodic versions are created in the background and do not interrupt your workflow. They capture the page state at regular intervals.
Previewing a Version
You can preview any saved version to see how it looked without committing to a restore:1
Click on a version
In the history panel, click on the version you want to preview. The system fetches the full version data and loads it into the canvas.
2
Review the preview
The canvas updates to show the sections from that version. You can scroll through all sections and switch between desktop and mobile views.
3
Decide your next step
After previewing, you can either:
- Restore the version to make it your current page state
- Cancel the preview to return to your current work
Restoring a Version
To restore a version and make it your current page state:1
Preview the version first
Click on the version to preview it and verify it contains the content you want.
2
Click Restore
Click the Restore button that appears in the preview controls. This replaces your current page sections with the version’s sections on the server.
3
Continue editing
After restoring, the version’s sections become your working page. The undo/redo history is reset. You can continue editing from this restored state.
Restoring a version replaces your current page sections with the version’s sections. Your previous state before restoring is not automatically saved as a new version — save a manual version first if you want to preserve it.
Deleting a Version
To remove a version from the history:1
Find the version
Locate the version you want to delete in the history panel.
2
Click the delete button
Click the trash icon on the version card. A confirmation dialog appears to prevent accidental deletion.
3
Confirm deletion
Confirm the deletion in the alert dialog. The version is permanently removed.
Version Limits
Each page can have up to 20 versions. When the limit is reached:- New manual saves may require deleting an older version first
- Auto-periodic versions may replace the oldest automatic backup
- Manual versions are prioritized and not automatically deleted
Version Details
Each version in the history panel shows:Versions vs. Undo/Redo
Best Practices
Save before major changes
Save before major changes
Always save a manual version before restructuring your page, deleting multiple sections, or changing the brand style. This gives you a reliable fallback.
Name your versions descriptively
Name your versions descriptively
When saving versions, use descriptive names like “Before hero redesign” or “Client review v2” so you can quickly identify them later.
Clean up old versions
Clean up old versions
Periodically delete old versions you no longer need to stay within the 20-version limit and keep your history manageable.
Use preview before restoring
Use preview before restoring
Always preview a version before restoring it. This lets you verify the content without losing your current work.