Method 1: Create with AI Prompt
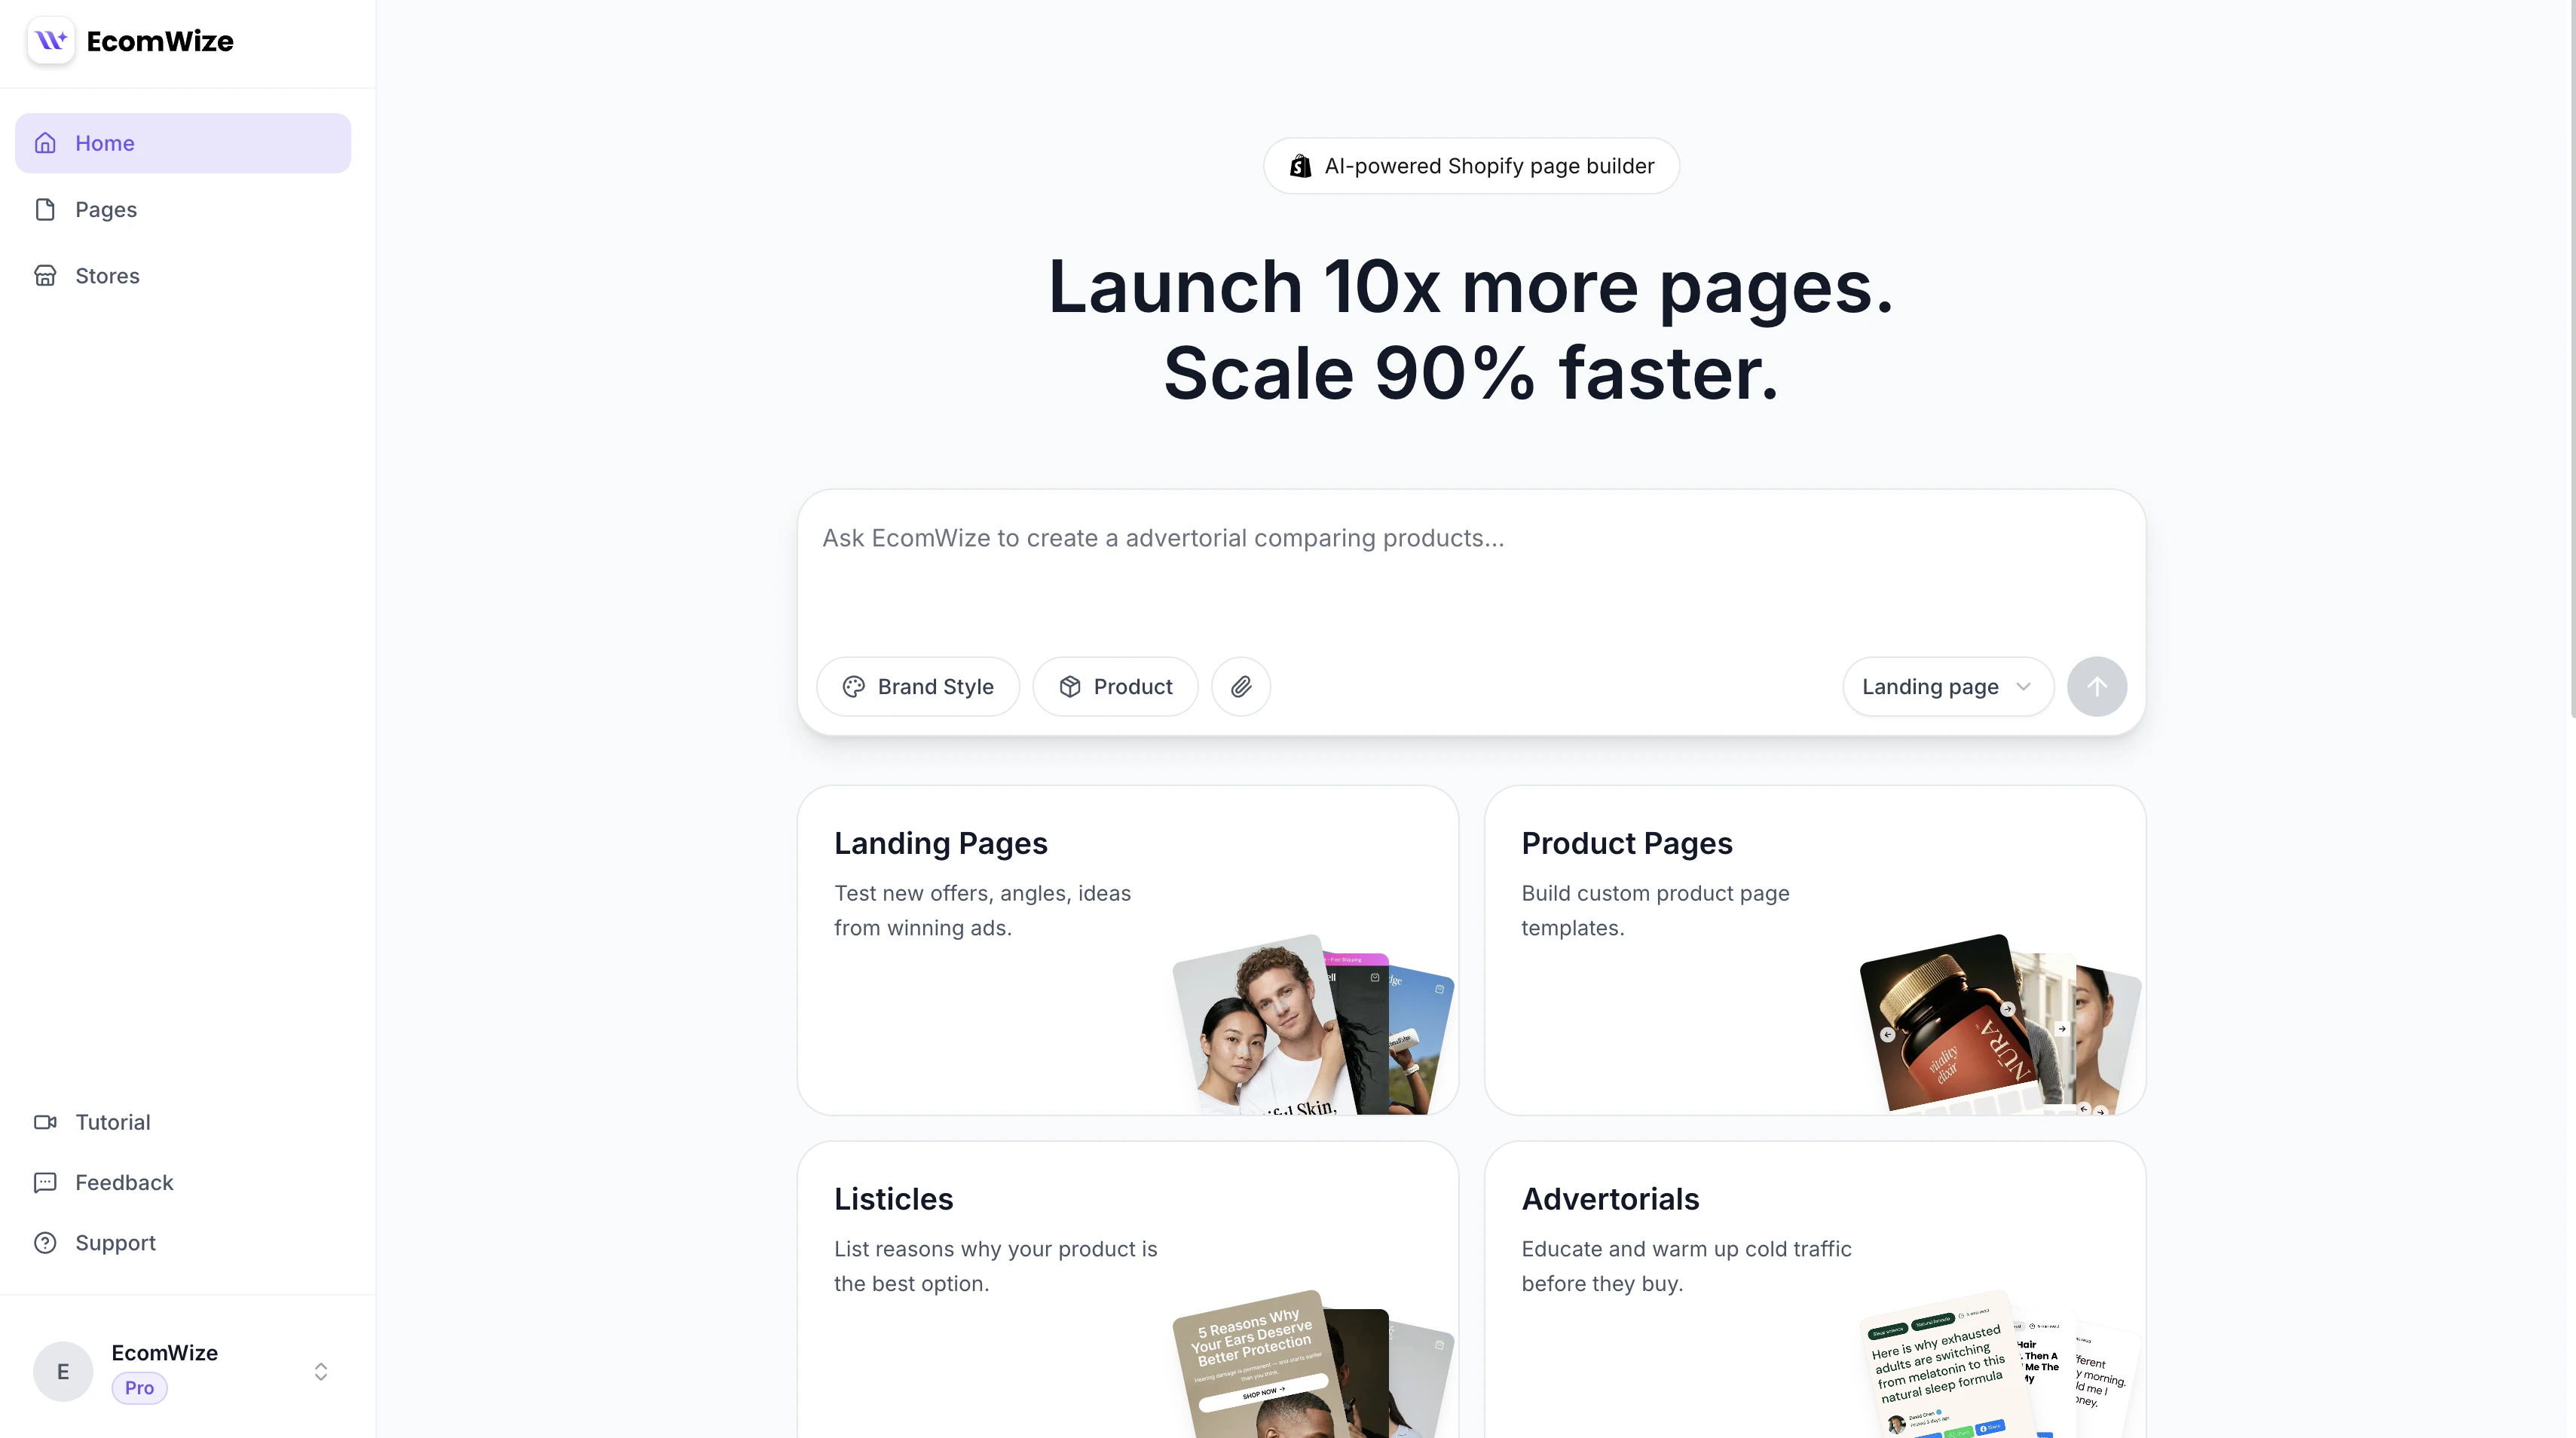
Open the Dashboard
From the dashboard, type a detailed prompt in the input field at the top. Describe your product, target audience, emotional angle, and desired positioning.
Select a page type
Use the dropdown next to the submit button to choose a page type: Landing Page, Product Page, Listicle, or Advertorial. Below the input, optional page type cards provide suggestions and inspiration.
Select a brand style
Choose a brand style from the dropdown. The brand style determines all typography, colors, spacing, and visual properties for your page.
Method 2: Create from Template + Prompt
Browse the template gallery
Scroll down on the dashboard to find the template gallery. Filter by category (Landing Pages, Product Pages, Listicles, Advertorials) to find a relevant starting point.
Select a template
Hover over a template card and click Generate to use it as a starting point, or click the card to preview it first. If you are previewing, click Use template in the preview header.
Add a prompt and configure
The template is tagged in the prompt input. Add a custom prompt to describe what changes you want, select your brand style, and optionally link a product.

Method 3: Create a Blank Page
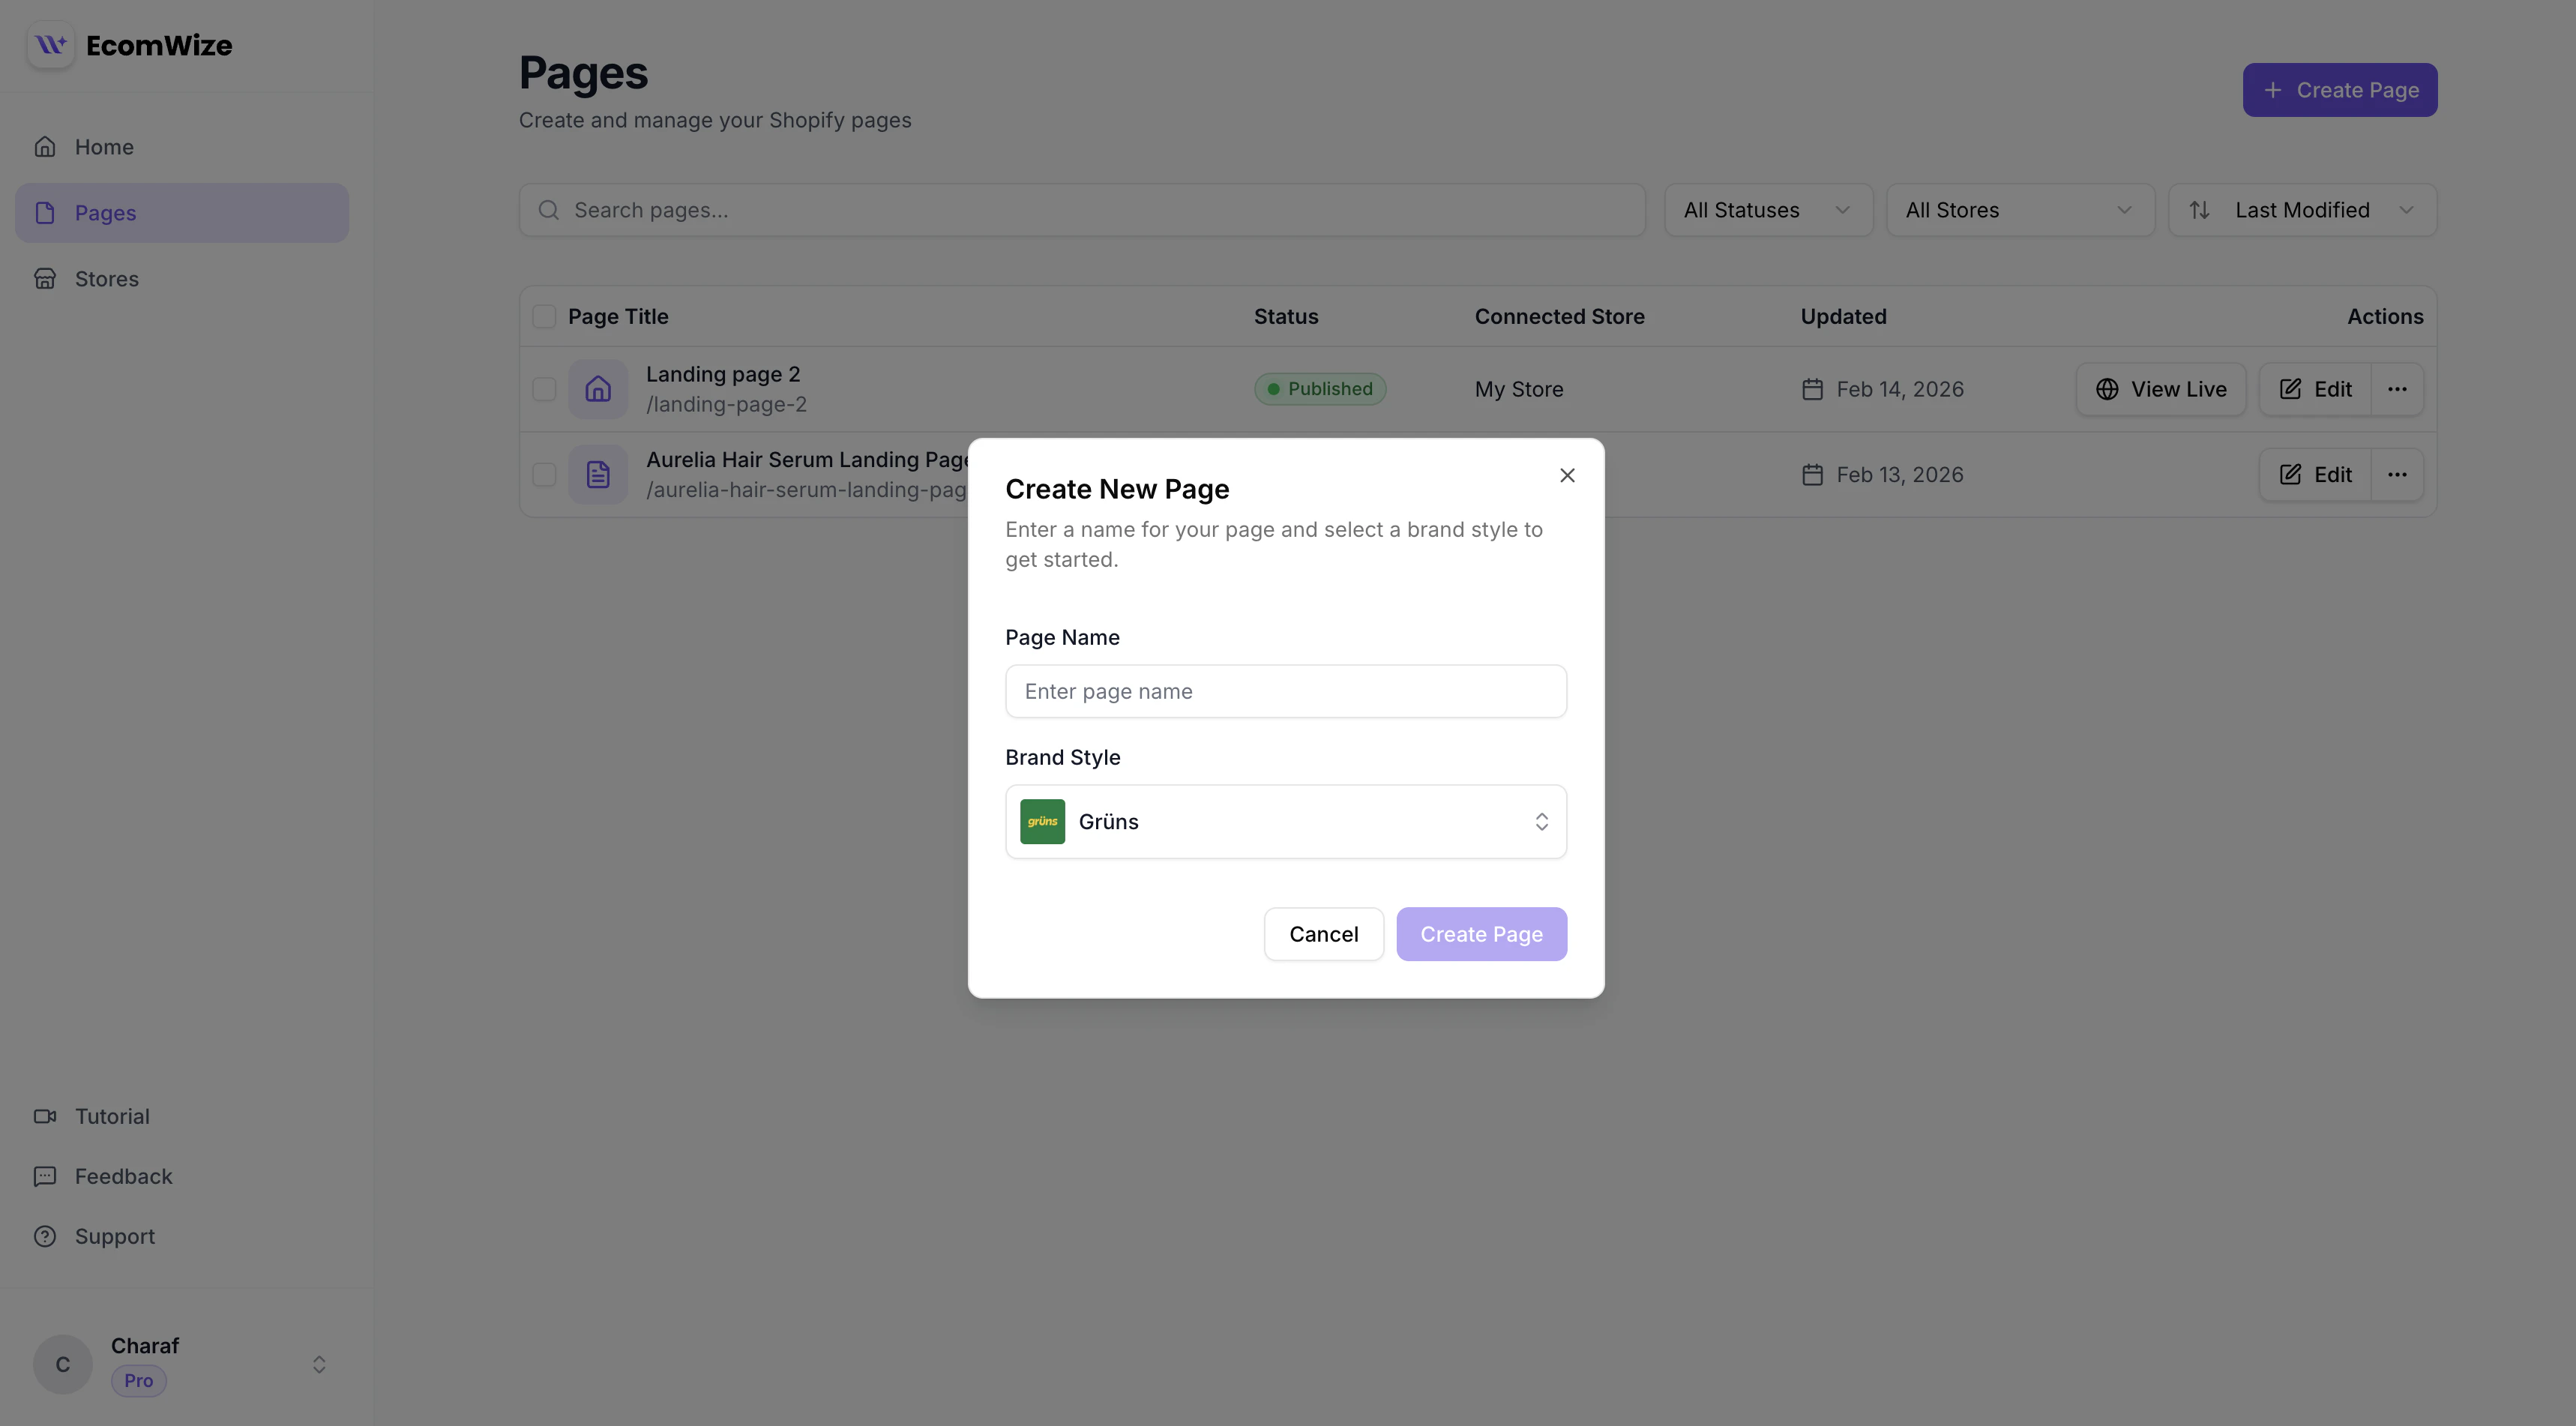
Open the Create Page dialog
From the pages list, click the New Page button (or the + button). The Create Page dialog opens.
Enter a page name
Type a name for your page in the Page Name field. This is required and will be used as the page title.
Select a brand style
Choose a brand style from the dropdown. The brand style determines all typography, colors, spacing, and visual properties for your page.
Required Fields
| Field | Required | Description |
|---|---|---|
| Page name | Yes | The title displayed in the pages list and browser tab |
| Brand style | Yes | The design system applied to all sections on the page |
Optional Configuration
After creating a page, you can configure additional settings in the Page Settings panel:- Store connection — Link the page to a Shopify store for publishing
- Product link — Connect a product for product-specific sections
- URL handle — Customize the URL slug for SEO
- Meta description — Add a description for search engines
- Template type — Choose between “page” and “product” template types
Page Status
Every new page starts with a draft status. This means:- The page is not live on any Shopify store
- You can freely edit and experiment without affecting your storefront
- The page does not count toward your published page limit
- You must explicitly publish the page to make it live
You can create unlimited pages on all plans, including the Free plan. The plan limit applies to published pages, not total pages created.
Plan Limits
While page creation is unlimited across all plans, the publishing limits differ:| Plan | Pages You Can Create | Pages You Can Publish |
|---|---|---|
| Free | Unlimited | 0 (preview only) |
| Starter | Unlimited | Up to 10 |
| Pro | Unlimited | Unlimited |
After Creating a Page
Once your page is created, you land in the builder with an empty canvas (or template sections if you used a template). From here you can:- Add sections from the sections panel on the left sidebar
- Drag and drop sections to reorder them
- Edit content by clicking on text, images, and other elements
- Configure sections using the right-side configuration panel
- Preview your page in desktop and mobile views
- Publish when you are ready to go live