Overview
EcomWize gives you three ways to create a new page: using an AI prompt to generate a full page automatically, starting from a template combined with a prompt, or creating a blank page manually. All methods take you to the builder canvas where you can edit every detail.Method 1: Create a page with AI prompt
The fastest way to get started is to describe what you want and let EcomWize build it for you.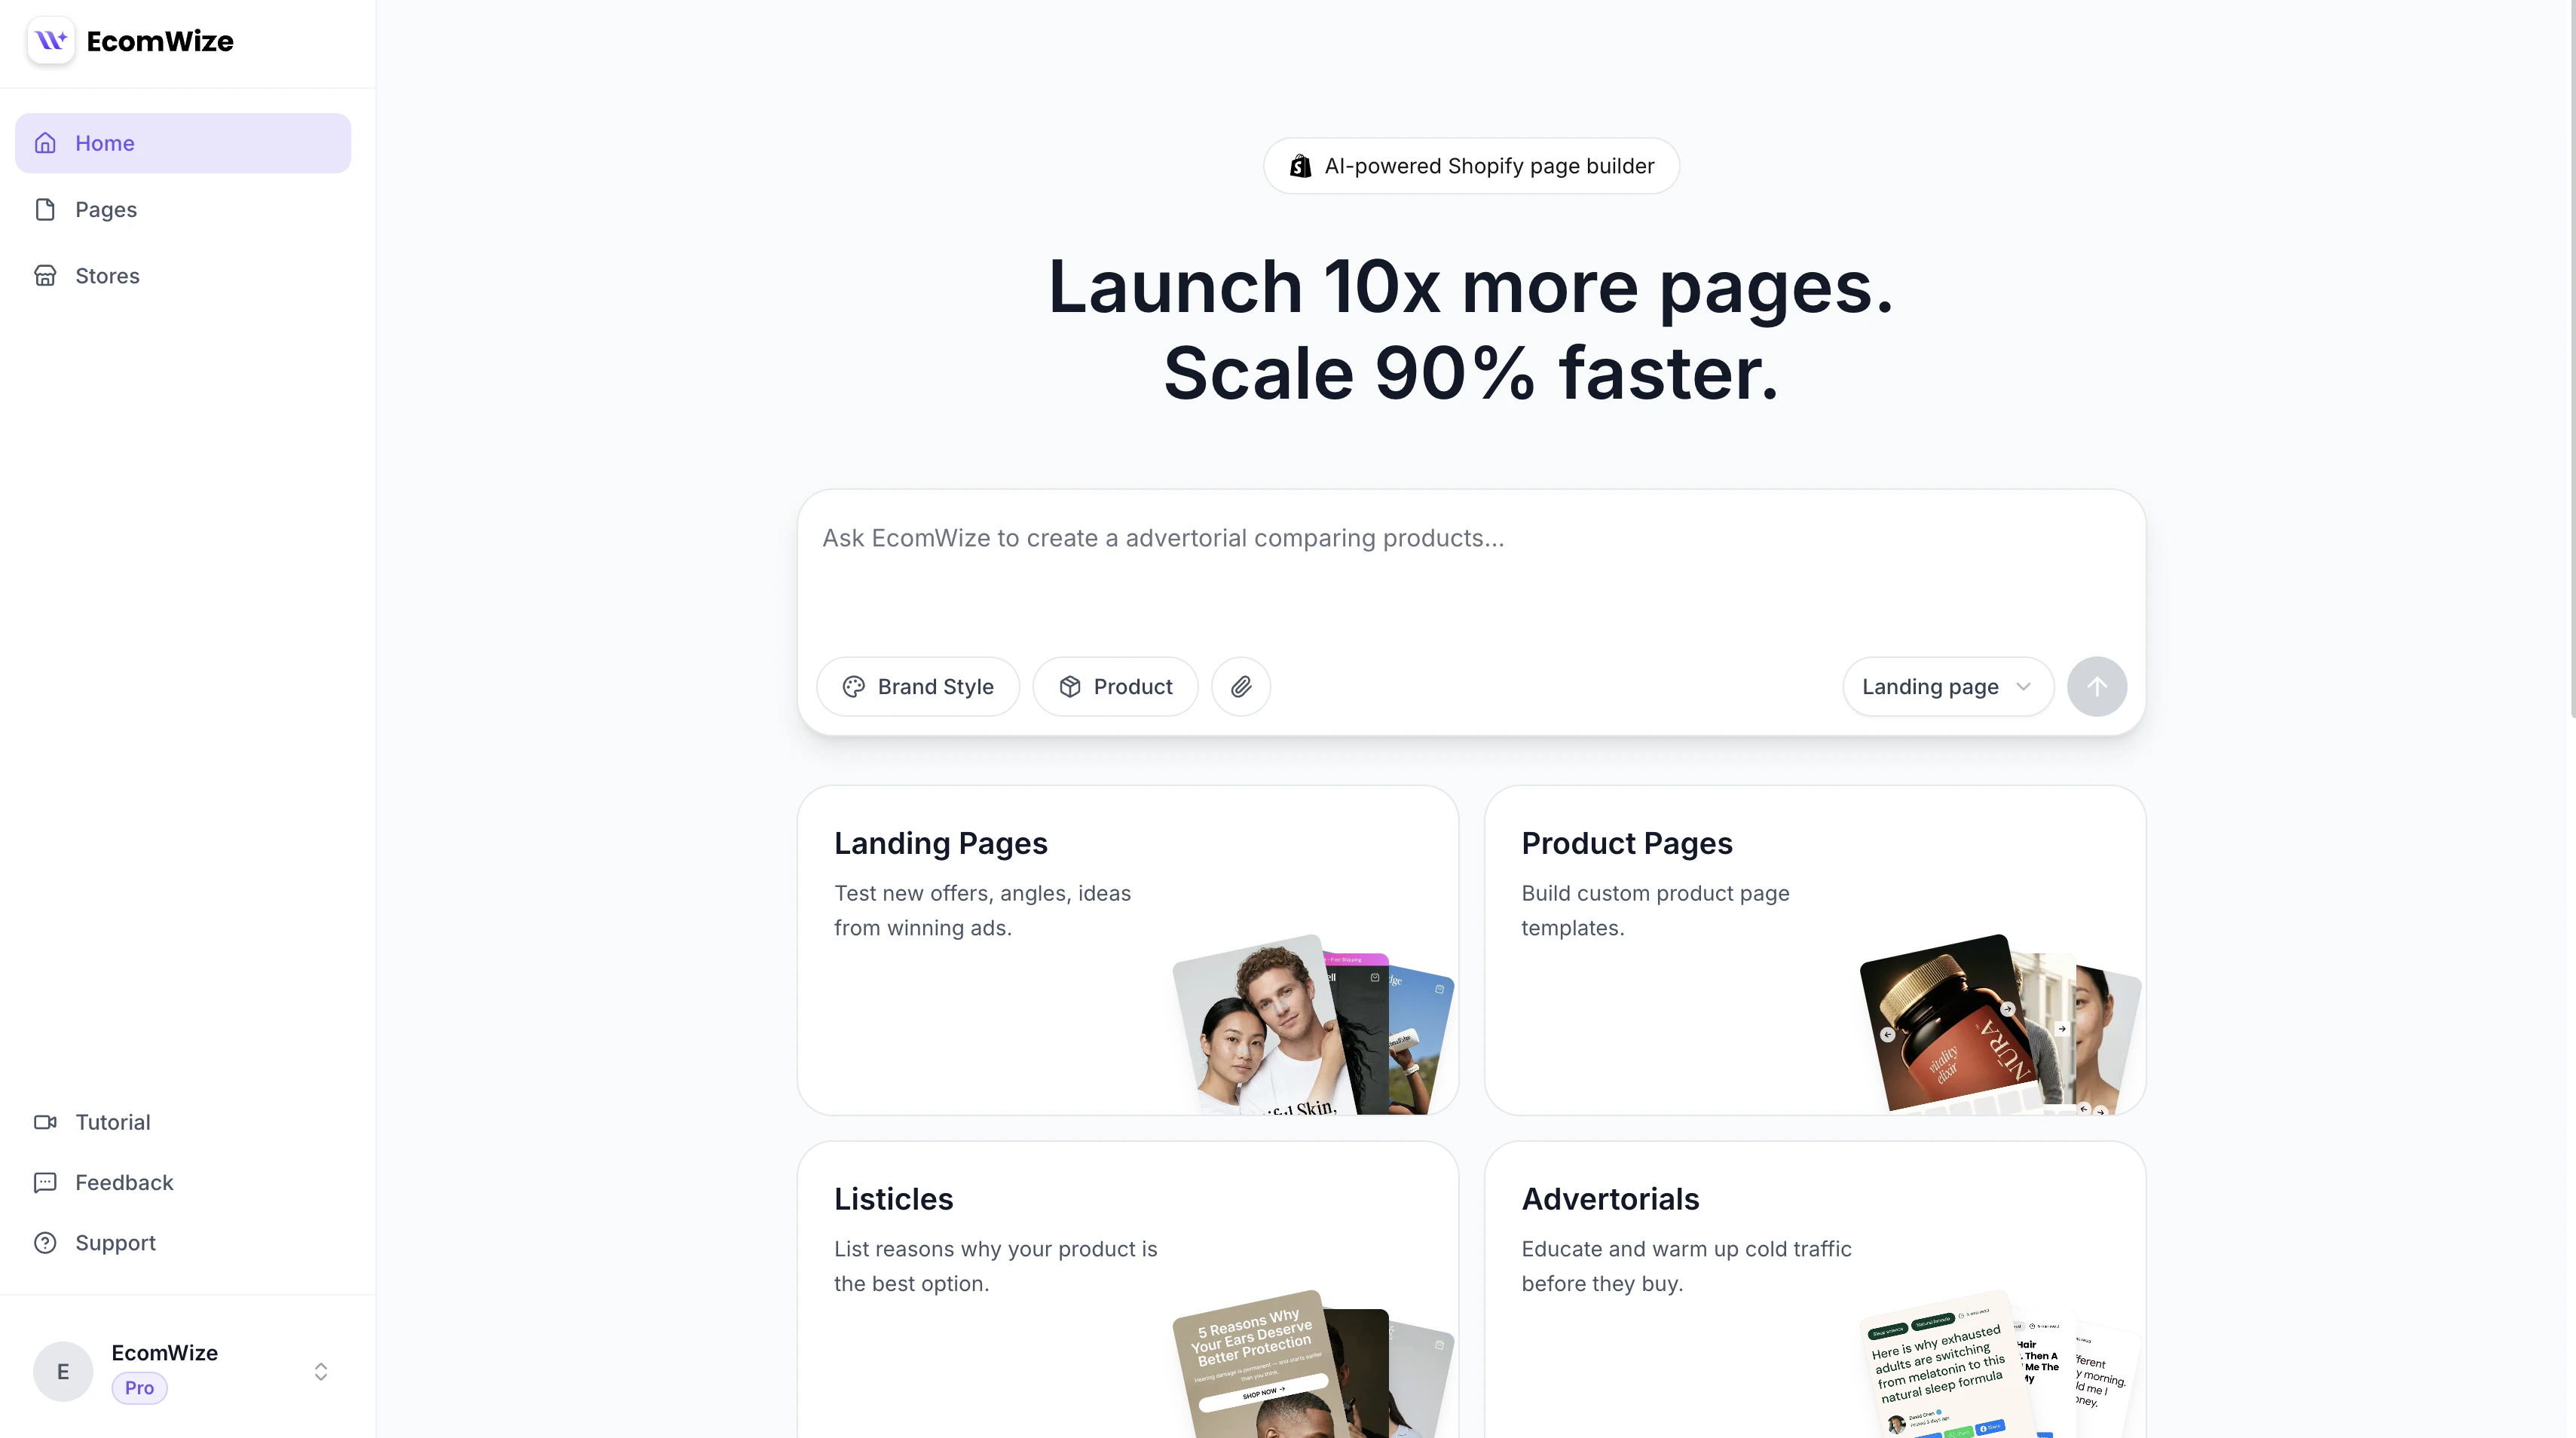
Go to the Dashboard
After logging in, you land on the Dashboard. This is where you create new pages.
Type a prompt
In the large input field at the top of the dashboard, describe the page you want to create. Be specific about your product, target audience, emotional angle, and positioning. For example:
Create a landing page for Aurelia Hair Multiplier Serum targeting women in their 30s and 40s who are noticing thinning hair and feeling self-conscious about it, lead with the emotional pain of seeing more hair in the brush every morning, position the serum as the daily ritual that quietly brings their confidence backMore examples:
- “Build a product page for an organic protein powder targeting gym-goers in their 20s who want clean ingredients, highlight the taste and mixability”
- “Design a listicle about the top 5 reasons busy moms should switch to our meal prep delivery service, focus on time savings and guilt-free nutrition”
Choose a page type
Next to the submit button, a dropdown lets you select the page type:
- Landing Pages — Test new offers, angles, and ideas from winning ads
- Product Pages — Build custom product page templates
- Listicles — List reasons why your product is the best option
- Advertorials — Educate and warm up cold traffic before they buy
Select a brand style
Choose a brand style to apply consistent typography, colors, and spacing across your page. If you have not created one yet, you can pick a default and customize it later.
Link a product (optional)
You can optionally link a Shopify product to your page. When linked, product sections (like product details, variant selectors, and pricing) will automatically pull data from your product.Search for a product by name from the dropdown. Products are loaded from your connected Shopify store.
Upload reference images (optional)
You can drag and drop or upload up to 10 reference images. These images will be used as visual context for the AI when generating your page, and will be uploaded to your media library for use in sections.
Supported formats: JPEG, PNG, WebP. Maximum file size: 5MB per image. Maximum 10 images per request.
Method 2: Create a page from a template + prompt
If you prefer to start from a pre-designed layout, you can use a template combined with an AI prompt.Browse available templates
On the dashboard, scroll down below the prompt input to find the template gallery. Templates are organized by category and each one shows a preview of what the finished page looks like.
Select a template
Click on a template to select it. The template will be tagged in the prompt input area, and you can add a custom prompt to describe what changes you want the AI to make.
Configure your page settings
Just like with AI-generated pages, select your brand style and optionally link a product.
Method 3: Create a blank page
You can also create a completely blank page and add sections manually:Fill in page details
Enter the following:
- Page Title (required) — A descriptive name for your page (e.g., “Summer Collection Landing Page”)
- Brand Style (required) — Select a brand style for consistent design
What happens next?
After creating your page, you are taken to the builder canvas where you can:- Add, remove, and reorder sections
- Edit text, images, and configuration for each section
- Apply and adjust your brand style
- Preview your page on desktop and mobile
- Publish directly to your Shopify store
Builder overview
Learn about the builder interface and its tools.
Adding sections
Explore the 70+ pre-built sections available.