> ## Documentation Index
> Fetch the complete documentation index at: https://docs.ecomwize.io/llms.txt
> Use this file to discover all available pages before exploring further.
# Uploading Media
> How to upload images and videos to your EcomWize media library for use in sections.
EcomWize Builder supports uploading images and videos that you can use across all your landing pages. Files are stored on a global CDN for fast delivery.
## Supported Formats
### Images
| Format | Extension | Notes |
| -------- | --------------- | ------------------------------------------------------ |
| **JPEG** | `.jpg`, `.jpeg` | Best for photographs and complex images |
| **PNG** | `.png` | Best for graphics, logos, and images with transparency |
| **GIF** | `.gif` | Supports animation |
| **WebP** | `.webp` | Modern format with excellent compression |
| **SVG** | `.svg` | Vector format, ideal for icons and logos |
### Videos
| Format | Extension | Notes |
| ------- | --------- | ------------------------------- |
| **MP4** | `.mp4` | The only supported video format |
Raster images (JPEG, PNG, GIF, WebP) are automatically converted to WebP format during upload for optimized file sizes. SVGs and videos are uploaded in their original format.
## File Size Limits
| File Type | Maximum Size |
| ---------- | ------------ |
| **Images** | 5 MB |
| **Videos** | 10 MB |
If you try to upload a file that exceeds the size limit, an error message will appear with the maximum allowed size.
If your image is too large, try compressing it before uploading. Tools like TinyPNG or Squoosh can reduce file sizes significantly without noticeable quality loss. Alternatively, use the [Image Cropping](/media/image-cropping) tool to crop and resize images after uploading.
## How to Upload
### From the Media Panel
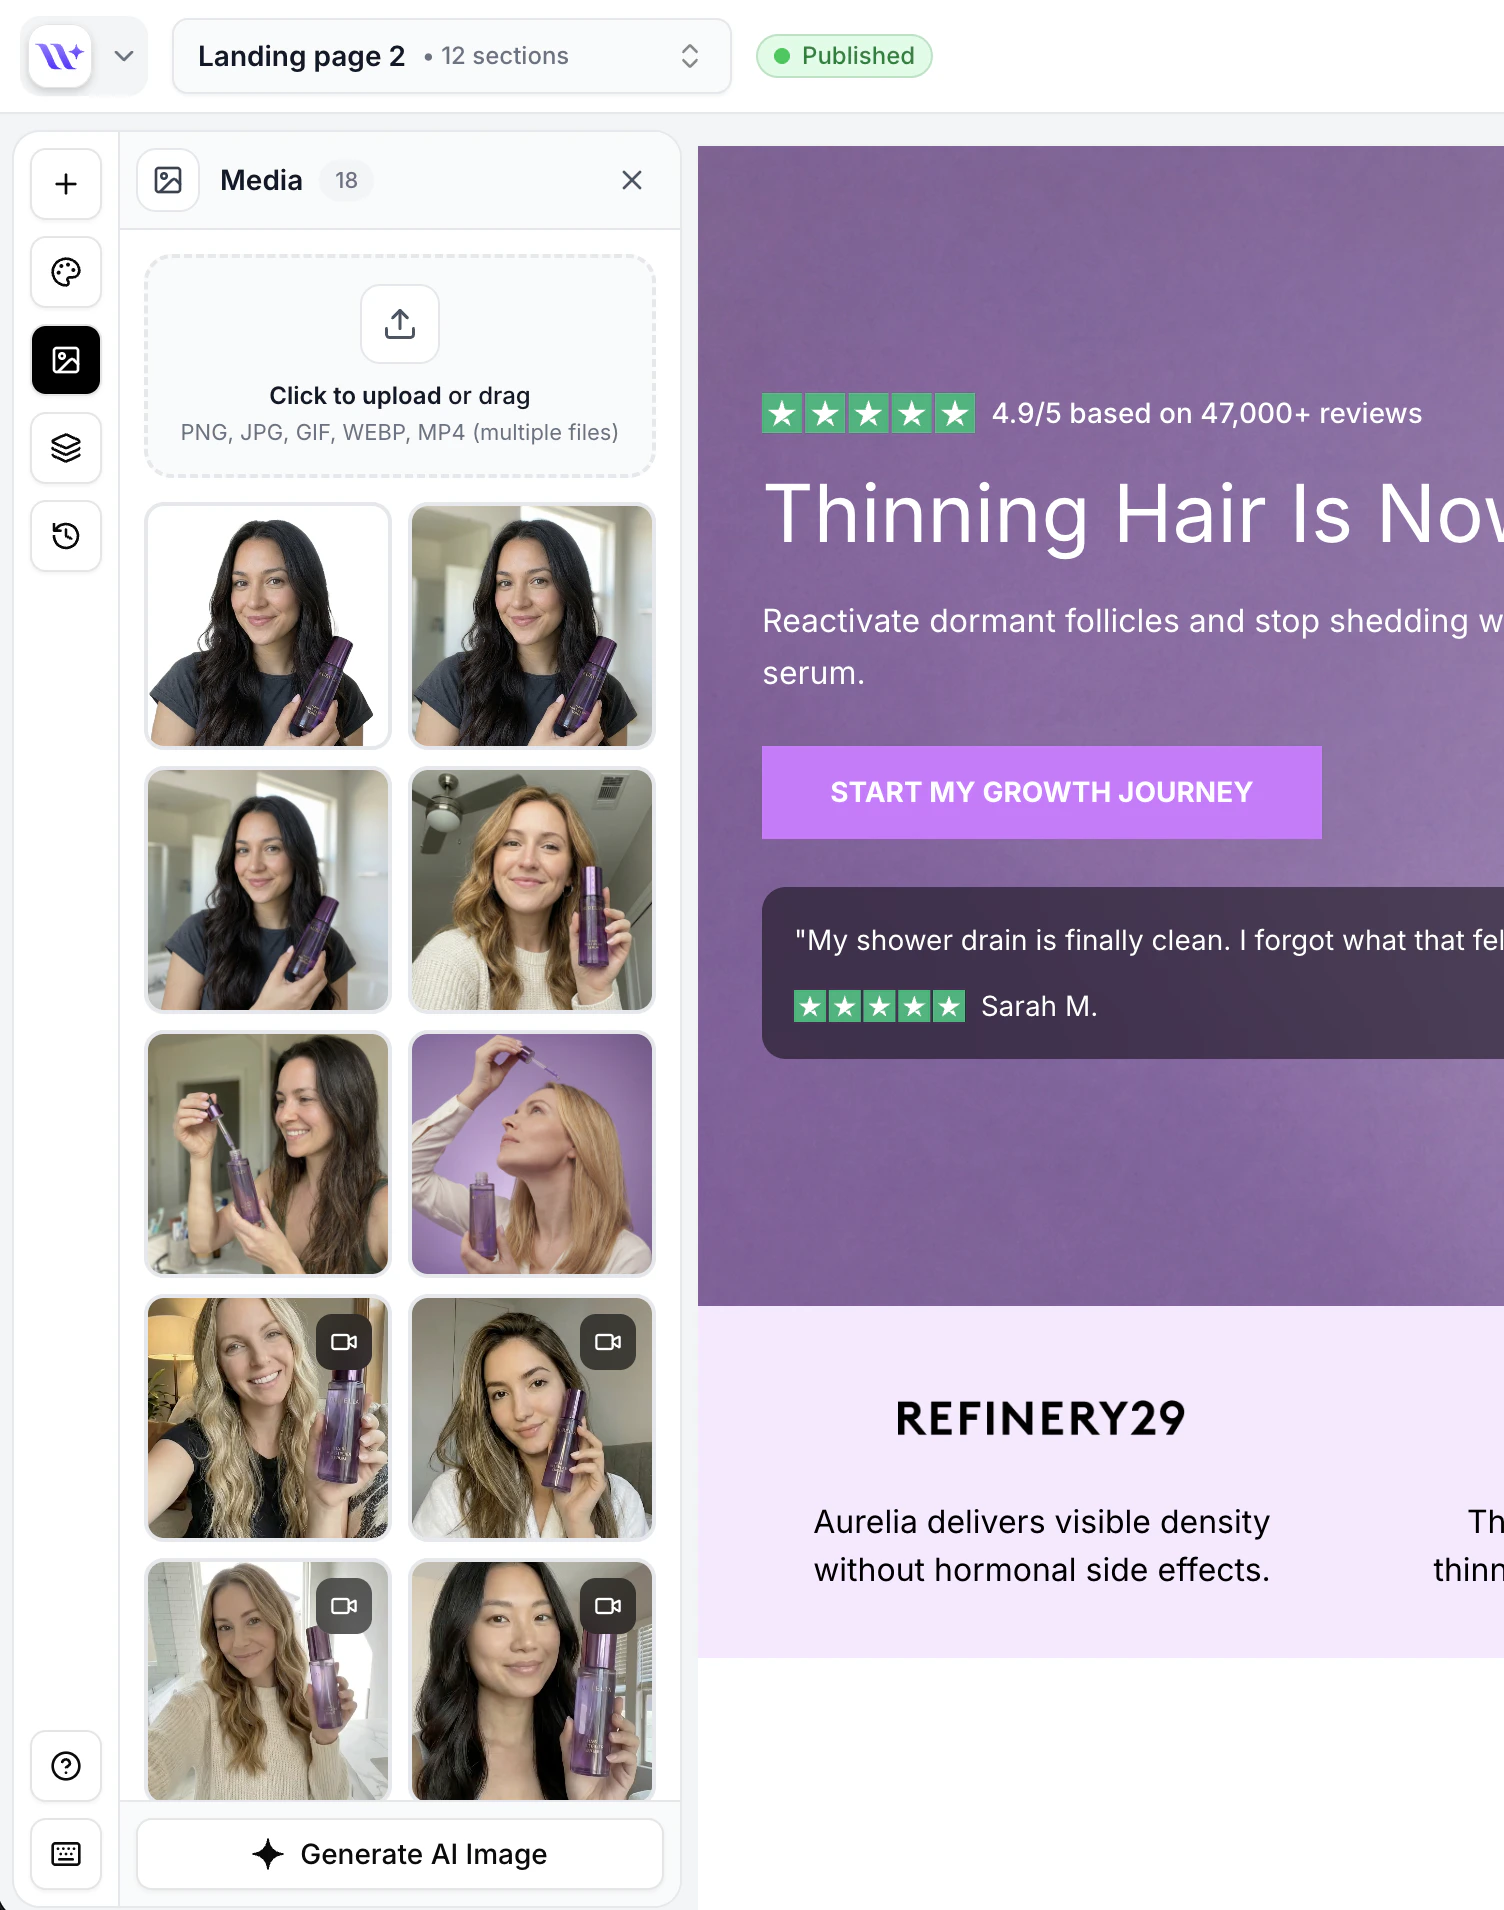 Click the media icon in the builder toolbar to open the Media Panel. It appears as a side panel showing your uploaded media library.
Click the **Upload** button at the top of the Media Panel.
A file picker dialog will open. Select one or more files to upload. You can select multiple files at once.
Each file shows an upload progress indicator. Once complete, the file appears in your media library.
### Drag and Drop
You can also upload files by dragging them directly into the Media Panel:
Open the Media Panel from the builder toolbar.
Drag one or more files from your computer's file manager and drop them into the Media Panel area.
When you drag files over the panel, a visual indicator appears confirming the drop zone. Release the files to start uploading.
### From an Image Element
When clicking on an image element in a section, you can upload directly from the image toolbar:
1. Click on any image element in the canvas
2. Click the upload icon in the image toolbar
3. Select a file from the file picker
4. The image is uploaded and immediately applied to the element
## Upload Processing
When you upload a file, it is validated, optimized (raster images are converted to WebP for smaller file sizes), and added to your media library. The file is immediately available for use in any section.
Uploads require an active internet connection. If the upload fails due to a network issue, try again. Partially uploaded files are not saved.
## WebP Conversion
EcomWize automatically converts raster images to WebP format during upload. This provides several benefits:
* **Smaller file sizes** -- WebP typically produces files 25-35% smaller than JPEG and PNG at equivalent quality
* **Faster page loads** -- Smaller images mean faster loading times for your published Shopify pages
* **No quality loss** -- Conversion uses 100% quality setting, so there is no visible degradation
SVG files are not converted to WebP since they are already vector-based and resolution-independent. Video files (MP4) are also uploaded in their original format.
## Frequently Asked Questions
No. The 5 MB image limit and 10 MB video limit are strictly enforced. Files exceeding these limits will be rejected with an error message. Compress your files before uploading if they are too large.
Yes. Both the file picker and drag-and-drop support multiple file selection. Each file is uploaded independently, and progress is tracked per file.
Files are stored on a global CDN. This ensures fast delivery regardless of where your website visitors are located.
Click the media icon in the builder toolbar to open the Media Panel. It appears as a side panel showing your uploaded media library.
Click the **Upload** button at the top of the Media Panel.
A file picker dialog will open. Select one or more files to upload. You can select multiple files at once.
Each file shows an upload progress indicator. Once complete, the file appears in your media library.
### Drag and Drop
You can also upload files by dragging them directly into the Media Panel:
Open the Media Panel from the builder toolbar.
Drag one or more files from your computer's file manager and drop them into the Media Panel area.
When you drag files over the panel, a visual indicator appears confirming the drop zone. Release the files to start uploading.
### From an Image Element
When clicking on an image element in a section, you can upload directly from the image toolbar:
1. Click on any image element in the canvas
2. Click the upload icon in the image toolbar
3. Select a file from the file picker
4. The image is uploaded and immediately applied to the element
## Upload Processing
When you upload a file, it is validated, optimized (raster images are converted to WebP for smaller file sizes), and added to your media library. The file is immediately available for use in any section.
Uploads require an active internet connection. If the upload fails due to a network issue, try again. Partially uploaded files are not saved.
## WebP Conversion
EcomWize automatically converts raster images to WebP format during upload. This provides several benefits:
* **Smaller file sizes** -- WebP typically produces files 25-35% smaller than JPEG and PNG at equivalent quality
* **Faster page loads** -- Smaller images mean faster loading times for your published Shopify pages
* **No quality loss** -- Conversion uses 100% quality setting, so there is no visible degradation
SVG files are not converted to WebP since they are already vector-based and resolution-independent. Video files (MP4) are also uploaded in their original format.
## Frequently Asked Questions
No. The 5 MB image limit and 10 MB video limit are strictly enforced. Files exceeding these limits will be rejected with an error message. Compress your files before uploading if they are too large.
Yes. Both the file picker and drag-and-drop support multiple file selection. Each file is uploaded independently, and progress is tracked per file.
Files are stored on a global CDN. This ensures fast delivery regardless of where your website visitors are located.