> ## Documentation Index
> Fetch the complete documentation index at: https://docs.ecomwize.io/llms.txt
> Use this file to discover all available pages before exploring further.
# Image Cropping
> Crop and resize images directly in the builder with the built-in image cropping tool.
EcomWize Builder includes a built-in image cropping tool that lets you crop, resize, and reframe images without leaving the builder. Cropped images are automatically converted to WebP format for optimized file sizes and saved to your media library.
## Opening the Image Cropper
Click on any image element in a section on the canvas.
Click the crop icon in the image toolbar that appears. The Image Crop modal opens with your image loaded.
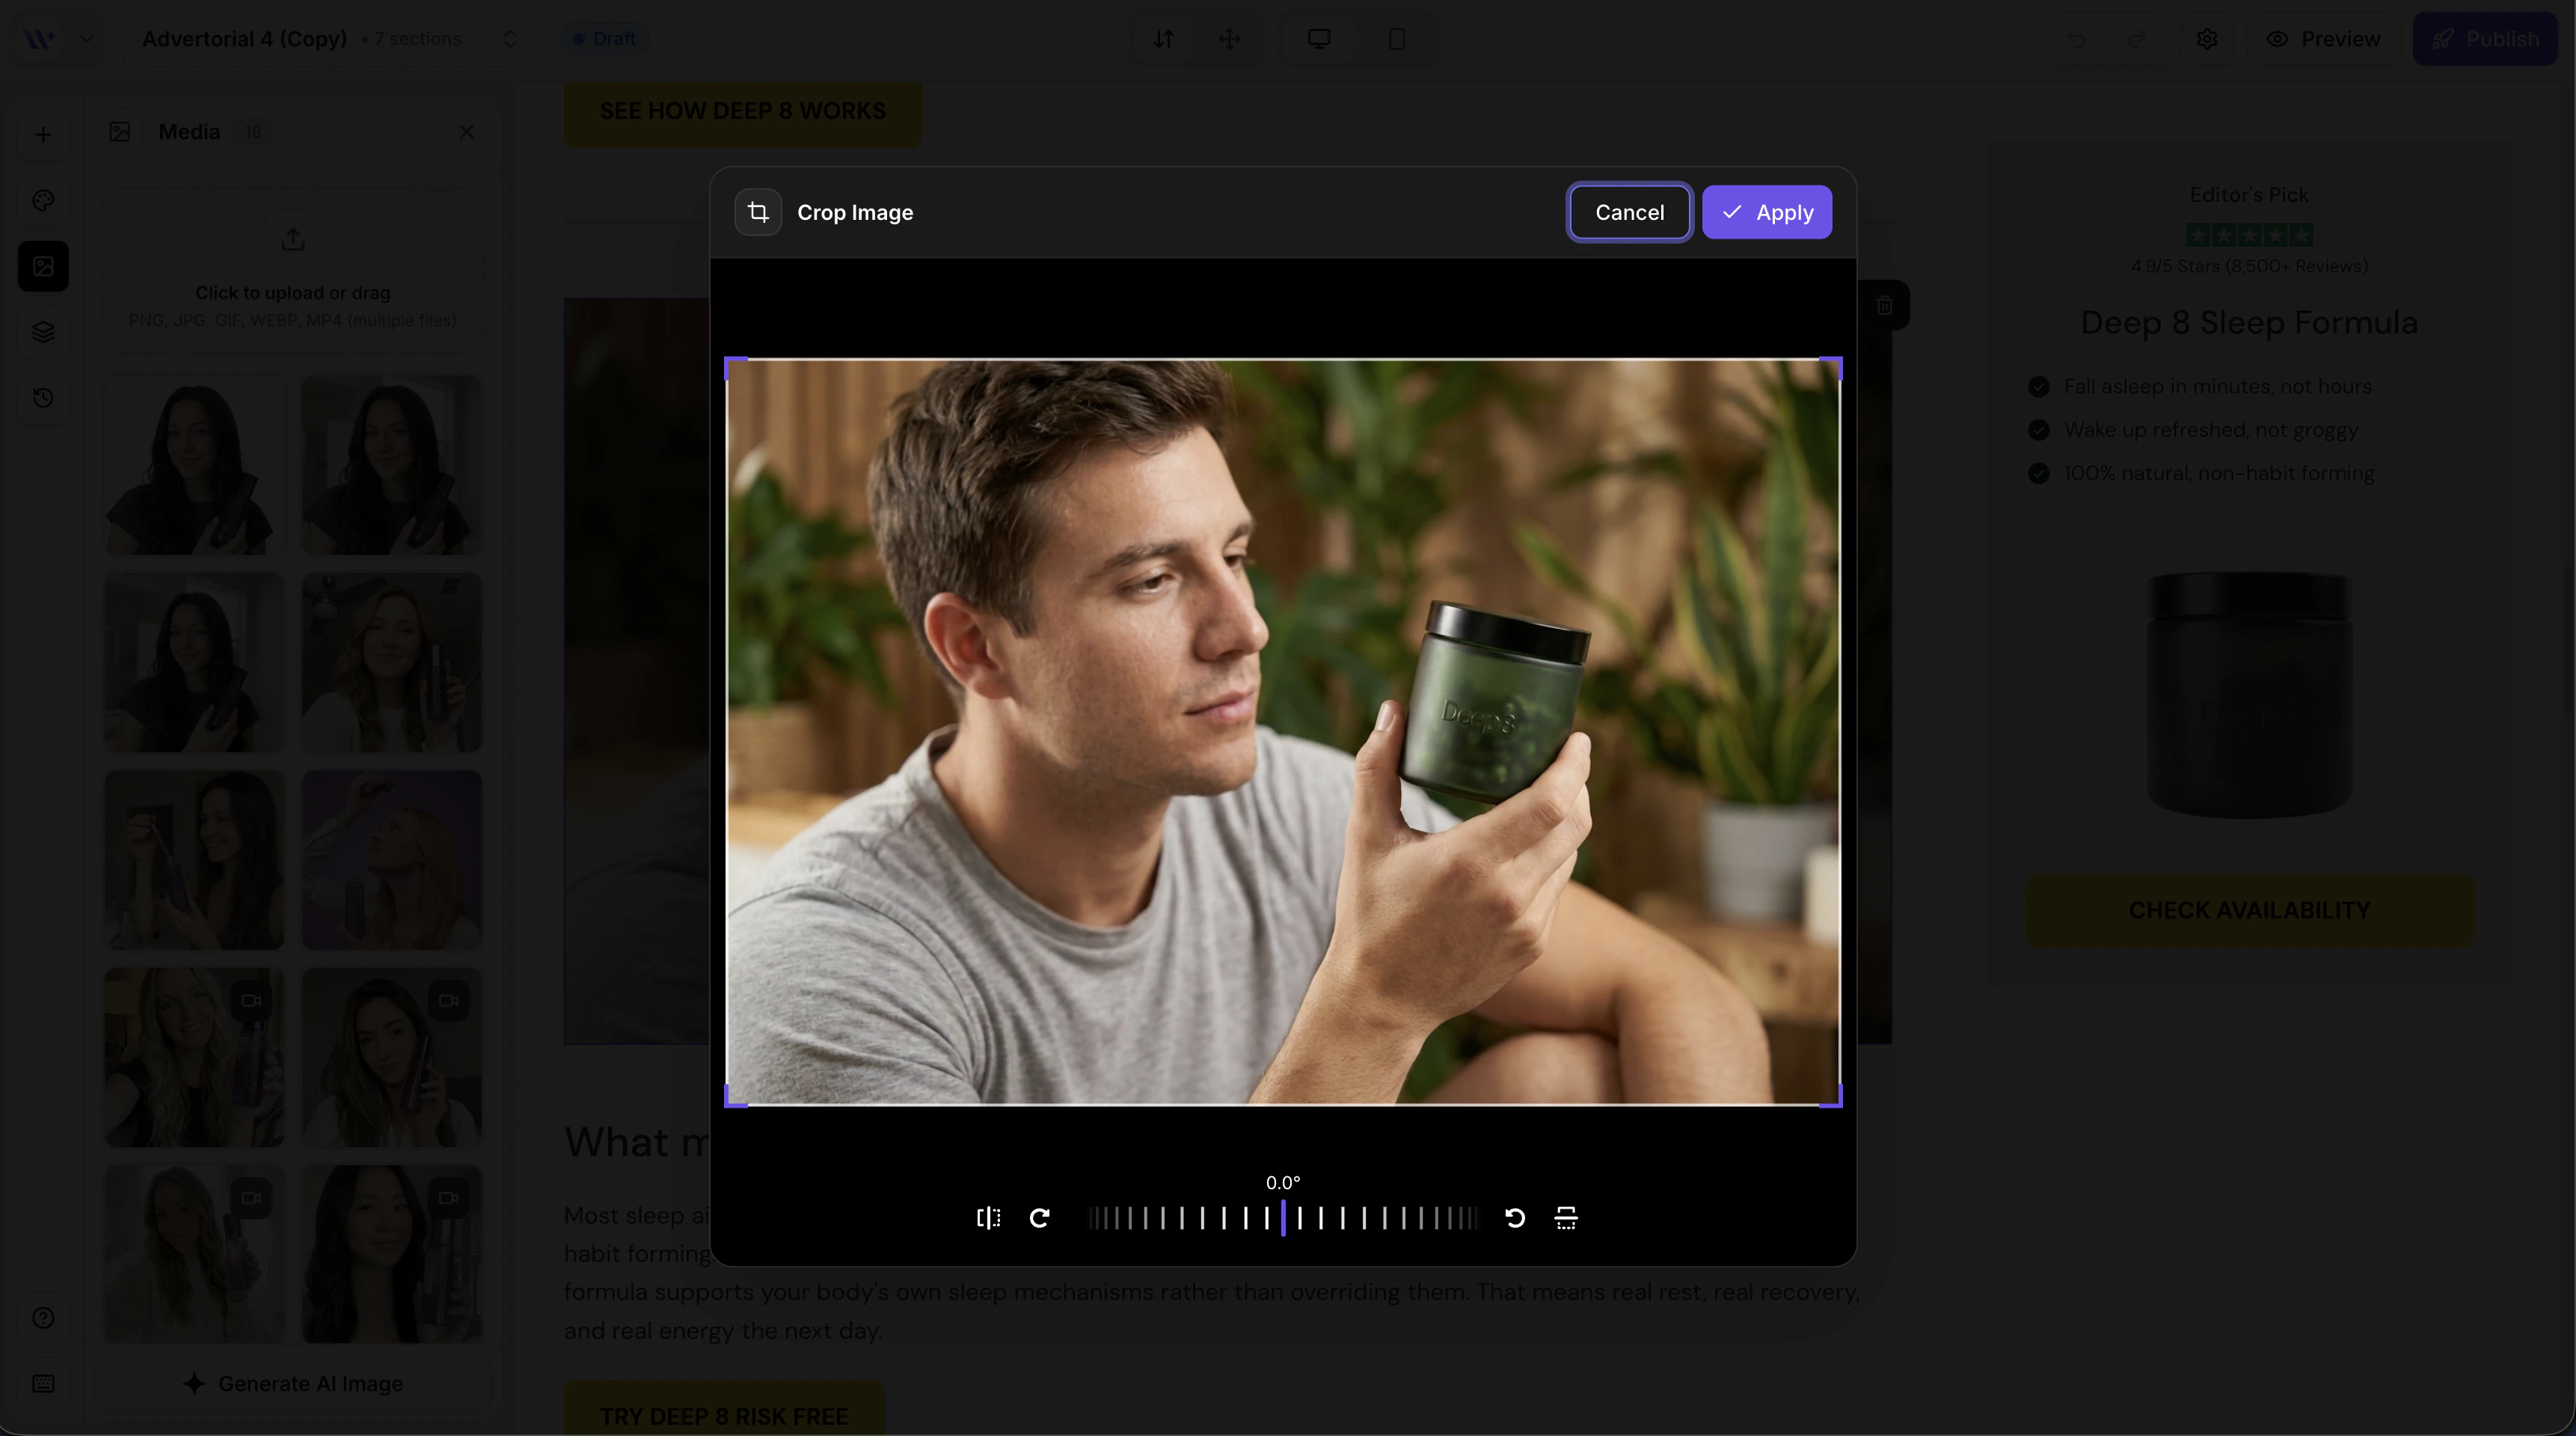 The cropper loads your image in a full-size canvas where you can adjust the crop area.
## Using the Cropper
The image cropper provides a canvas-based interface for precise cropping.
### Basic Cropping
* **Drag the crop area** -- Click and drag within the image to reposition the crop frame.
* **Resize the crop area** -- Drag the edges or corners of the crop frame to adjust the size.
* **Zoom** -- Use pinch-to-zoom or scroll to zoom in and out on the image.
* **Pan** -- Click and drag the image to reposition it within the crop frame.
## Saving Cropped Images
Position and size the crop frame to capture the area you want.
Review the crop area to make sure it captures the right portion of the image.
Click the **Save** (checkmark) button to save the cropped image.
The cropper extracts the selected area from the canvas, converts it to WebP format, and uploads it to your media library.
The cropped image is automatically applied to the image element you originally selected, replacing the uncropped version.
## WebP Conversion
Cropped images are automatically saved in WebP format, regardless of the original image format. This provides:
* **Smaller file sizes** -- WebP compression reduces file sizes significantly compared to JPEG or PNG
* **Faster loading** -- Smaller images load faster on your published Shopify pages
* **Consistent format** -- All cropped images use the same format for uniformity
## Before and After
When you open the cropper, you see the full original image. As you adjust the crop frame, only the selected area will be saved. The original image is not modified -- a new cropped version is created and uploaded as a separate file in your media library.
Since cropping creates a new file, your original image remains in the media library untouched. You can always go back to the original and crop it differently if needed.
## Common Use Cases
Remove unnecessary background from product photos to create cleaner, more focused images. Crop tightly around the product for detail shots, or leave more space for lifestyle context.
Hero sections often need wide, landscape images. Crop your images to a wider proportion for full-width hero banners.
If you are using screenshots or UI images, crop out unnecessary browser chrome, toolbars, or whitespace to show only the relevant content.
The cropper loads your image in a full-size canvas where you can adjust the crop area.
## Using the Cropper
The image cropper provides a canvas-based interface for precise cropping.
### Basic Cropping
* **Drag the crop area** -- Click and drag within the image to reposition the crop frame.
* **Resize the crop area** -- Drag the edges or corners of the crop frame to adjust the size.
* **Zoom** -- Use pinch-to-zoom or scroll to zoom in and out on the image.
* **Pan** -- Click and drag the image to reposition it within the crop frame.
## Saving Cropped Images
Position and size the crop frame to capture the area you want.
Review the crop area to make sure it captures the right portion of the image.
Click the **Save** (checkmark) button to save the cropped image.
The cropper extracts the selected area from the canvas, converts it to WebP format, and uploads it to your media library.
The cropped image is automatically applied to the image element you originally selected, replacing the uncropped version.
## WebP Conversion
Cropped images are automatically saved in WebP format, regardless of the original image format. This provides:
* **Smaller file sizes** -- WebP compression reduces file sizes significantly compared to JPEG or PNG
* **Faster loading** -- Smaller images load faster on your published Shopify pages
* **Consistent format** -- All cropped images use the same format for uniformity
## Before and After
When you open the cropper, you see the full original image. As you adjust the crop frame, only the selected area will be saved. The original image is not modified -- a new cropped version is created and uploaded as a separate file in your media library.
Since cropping creates a new file, your original image remains in the media library untouched. You can always go back to the original and crop it differently if needed.
## Common Use Cases
Remove unnecessary background from product photos to create cleaner, more focused images. Crop tightly around the product for detail shots, or leave more space for lifestyle context.
Hero sections often need wide, landscape images. Crop your images to a wider proportion for full-width hero banners.
If you are using screenshots or UI images, crop out unnecessary browser chrome, toolbars, or whitespace to show only the relevant content.