> ## Documentation Index
> Fetch the complete documentation index at: https://docs.ecomwize.io/llms.txt
> Use this file to discover all available pages before exploring further.
# Connect Your Shopify Store
> Link your Shopify store to EcomWize so you can publish landing pages directly to your theme.
## Overview
Connecting your Shopify store to EcomWize allows you to publish landing pages directly to your Shopify theme. The connection process walks you through 5 simple steps with video tutorials.
You will need to create a custom app on the [Shopify Dev Dashboard](https://dev.shopify.com/dashboard). If you are working on behalf of a client, ask them to add you as a collaborator or create the custom app themselves.
## Connect a store
From the EcomWize dashboard, go to **Stores** and click the **Connect Store** button.
Enter your Shopify admin store URL. You can paste it in either format:
* `https://admin.shopify.com/store/your-store-name`
* `your-store.myshopify.com`
To find this URL:
1. Go to your **Shopify Store Admin**
2. Click on the **Home button** from the sidebar
3. Click on your browser's URL bar, **copy the URL**, and paste it into the field
Click **Continue** to proceed.
Open the **Shopify Dev Dashboard** by visiting [dev.shopify.com/dashboard](https://dev.shopify.com/dashboard) and click the **Create app** button.
Inside the opened modal/popup:
1. In the **name** field, enter: `EcomWize`
2. Click the **Create** button
3. In the **App URL** field, enter: `https://app.ecomwize.io/`
4. Uncheck the **Embed app in Shopify admin** checkbox
In the opened page:
1. Find the **Access** card
2. Check the **Use legacy install flow** checkbox
3. Complete the **Redirect URLs** field with the value shown in EcomWize (copy it using the copy button)
Make sure you check the **Use legacy install flow** checkbox and complete the **Redirect URLs** field. Otherwise you will not be able to connect your store.
4. Click the **Release** button located at the bottom right corner
5. In the opened modal/popup, leave the fields empty and click **Release**
1. From the **left sidebar**, click on **Settings** -- you will see the **Client ID** and **Secret** fields at the top of the page
2. Copy and paste both values into the corresponding fields in EcomWize
3. Click **Connect Store** to complete the connection
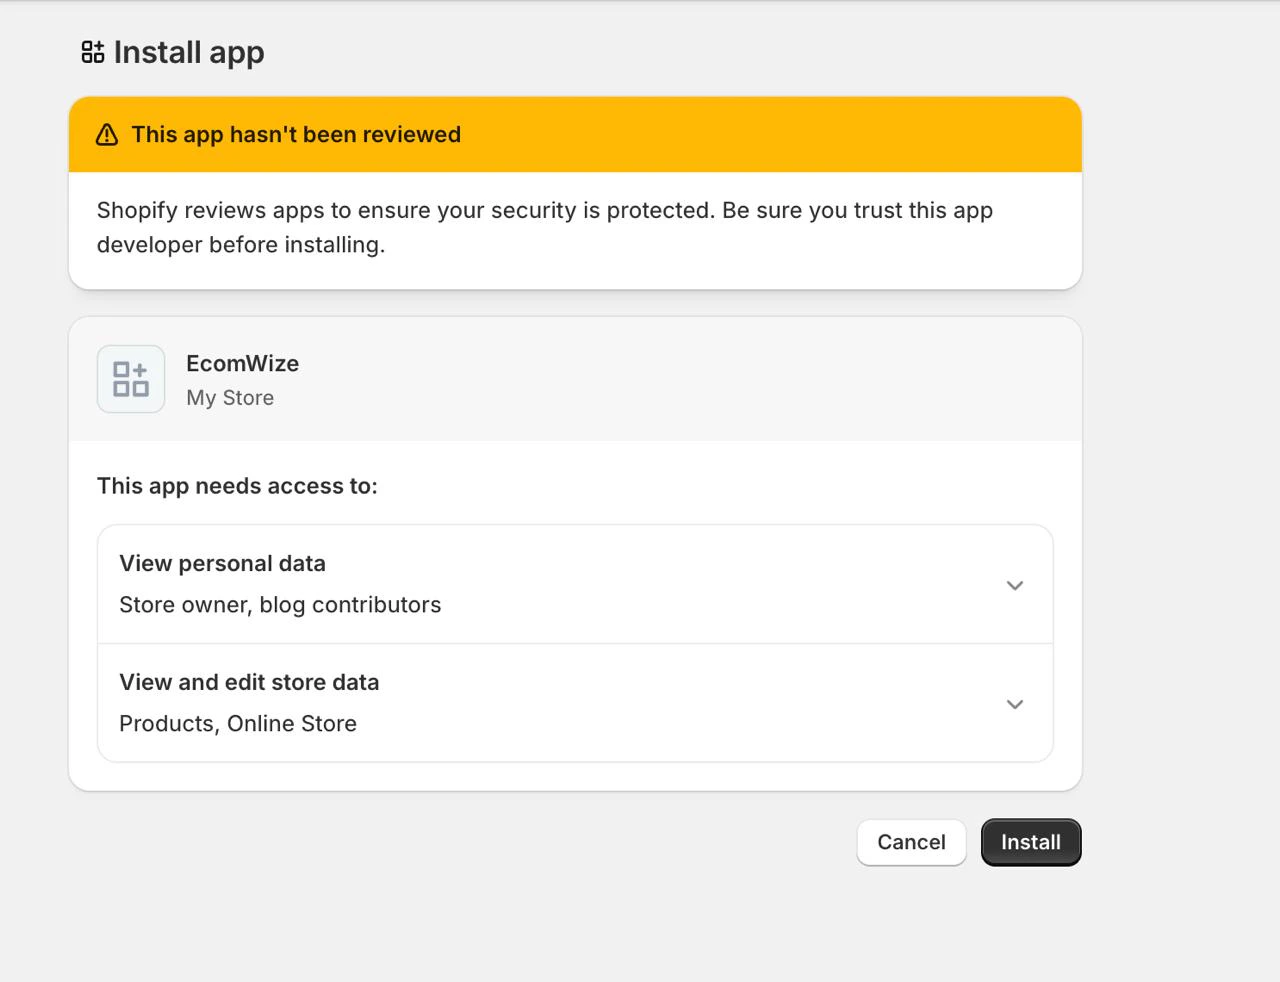
You will be redirected to Shopify to authorize the app. After approving, you will be redirected back to EcomWize with your store connected.
 Each step includes a video walkthrough. Watch the videos if you are unsure about any step.
## Verify your connection
After connecting, your store will appear on the **Stores** page with a status badge:
* **Connected** -- The store is linked and ready for publishing
* **Error** -- There was a problem with the connection (re-authorize or check your credentials)
You can click on a connected store to see its domain and manage the connection.
## Manage multiple stores
EcomWize supports connecting multiple Shopify stores. The number of stores you can connect depends on your plan:
| Plan | Max stores |
| ------- | ---------- |
| Free | 1 |
| Starter | 1 |
| Pro | Unlimited |
When creating or publishing a page, you select which store to publish to from a dropdown. Each page is associated with one store at a time.
If you have reached your store limit, you will be prompted to upgrade your plan when trying to connect an additional store.
## Disconnect a store
If you need to remove a store connection:
Navigate to **Stores** from the sidebar.
Find the store you want to disconnect and click the **trash icon** or **Disconnect** button on the store card.
A confirmation dialog will appear. Click **Disconnect** to confirm. This removes the store connection from EcomWize.
Disconnecting a store does **not** remove pages that have already been published to your Shopify theme. Those pages will remain on your Shopify store until you manually delete them from your theme editor.
## Troubleshooting
This usually means the session expired. Close and start the connection process again. Make sure your browser allows cookies from EcomWize.
Double-check that you entered the correct **Client ID** and **Secret** from your Shopify app. Even a single extra space can cause this error.
This can happen if the Shopify credentials were rotated or the custom app was uninstalled from Shopify. Re-connect the store using the updated credentials.
In the Shopify Dev Dashboard, go to your app and click **Settings** in the left sidebar. The Client ID and Secret are displayed at the top of the settings page.
If you encounter any other issues, contact us at **[support@ecomwize.io](mailto:support@ecomwize.io)** and we will help you get connected.
Each step includes a video walkthrough. Watch the videos if you are unsure about any step.
## Verify your connection
After connecting, your store will appear on the **Stores** page with a status badge:
* **Connected** -- The store is linked and ready for publishing
* **Error** -- There was a problem with the connection (re-authorize or check your credentials)
You can click on a connected store to see its domain and manage the connection.
## Manage multiple stores
EcomWize supports connecting multiple Shopify stores. The number of stores you can connect depends on your plan:
| Plan | Max stores |
| ------- | ---------- |
| Free | 1 |
| Starter | 1 |
| Pro | Unlimited |
When creating or publishing a page, you select which store to publish to from a dropdown. Each page is associated with one store at a time.
If you have reached your store limit, you will be prompted to upgrade your plan when trying to connect an additional store.
## Disconnect a store
If you need to remove a store connection:
Navigate to **Stores** from the sidebar.
Find the store you want to disconnect and click the **trash icon** or **Disconnect** button on the store card.
A confirmation dialog will appear. Click **Disconnect** to confirm. This removes the store connection from EcomWize.
Disconnecting a store does **not** remove pages that have already been published to your Shopify theme. Those pages will remain on your Shopify store until you manually delete them from your theme editor.
## Troubleshooting
This usually means the session expired. Close and start the connection process again. Make sure your browser allows cookies from EcomWize.
Double-check that you entered the correct **Client ID** and **Secret** from your Shopify app. Even a single extra space can cause this error.
This can happen if the Shopify credentials were rotated or the custom app was uninstalled from Shopify. Re-connect the store using the updated credentials.
In the Shopify Dev Dashboard, go to your app and click **Settings** in the left sidebar. The Client ID and Secret are displayed at the top of the settings page.
If you encounter any other issues, contact us at **[support@ecomwize.io](mailto:support@ecomwize.io)** and we will help you get connected.