> ## Documentation Index
> Fetch the complete documentation index at: https://docs.ecomwize.io/llms.txt
> Use this file to discover all available pages before exploring further.
# Account Setup
> Create your EcomWize account and complete onboarding to start building Shopify landing pages.
## Create your account
Getting started with EcomWize takes just a few minutes. Follow the steps below to create your account and land on your dashboard.
Visit [app.ecomwize.io](https://app.ecomwize.io) and click **Sign Up**. You can create an account using your email address.
Provide your email address and click **Continue**. EcomWize uses magic link authentication -- you will receive a sign-in link in your inbox. Click the link to log in. No password is needed.
If you do not see the email, check your spam or junk folder. You can request a new magic link from the login page at any time.
After verifying your email and logging in for the first time, you will be taken through a short 3-step onboarding survey. This helps us personalize your experience.
**Step 1 -- Work type**
Select the option that best describes you:
* Agency
* Brand
* Freelancer
* Other
**Step 2 -- How did you hear about us?**
Choose how you discovered EcomWize:
* X / Twitter, LinkedIn, Instagram, TikTok
* Google Search, YouTube, Newsletter, Podcast
* Word of mouth, From a friend / colleague, From a client
* Ad I saw, Other
**Step 3 -- What is your goal?**
Tell us what you want to accomplish:
* Build a new store from scratch
* Improve my store's conversion rate
* Update existing parts of my store
* Launch faster without developers
* Something else (with a free-text field)
You can skip the survey if you prefer, but completing it helps us tailor the experience to your needs.
On your first visit to the page builder, a tutorial modal will appear with a short video walkthrough showing you how to use EcomWize. You can watch it to get oriented, or click **Skip for now** to jump straight into building.
## Navigate the dashboard
Once you complete onboarding, you will land on the **Dashboard**. This is your home base for creating and managing pages.
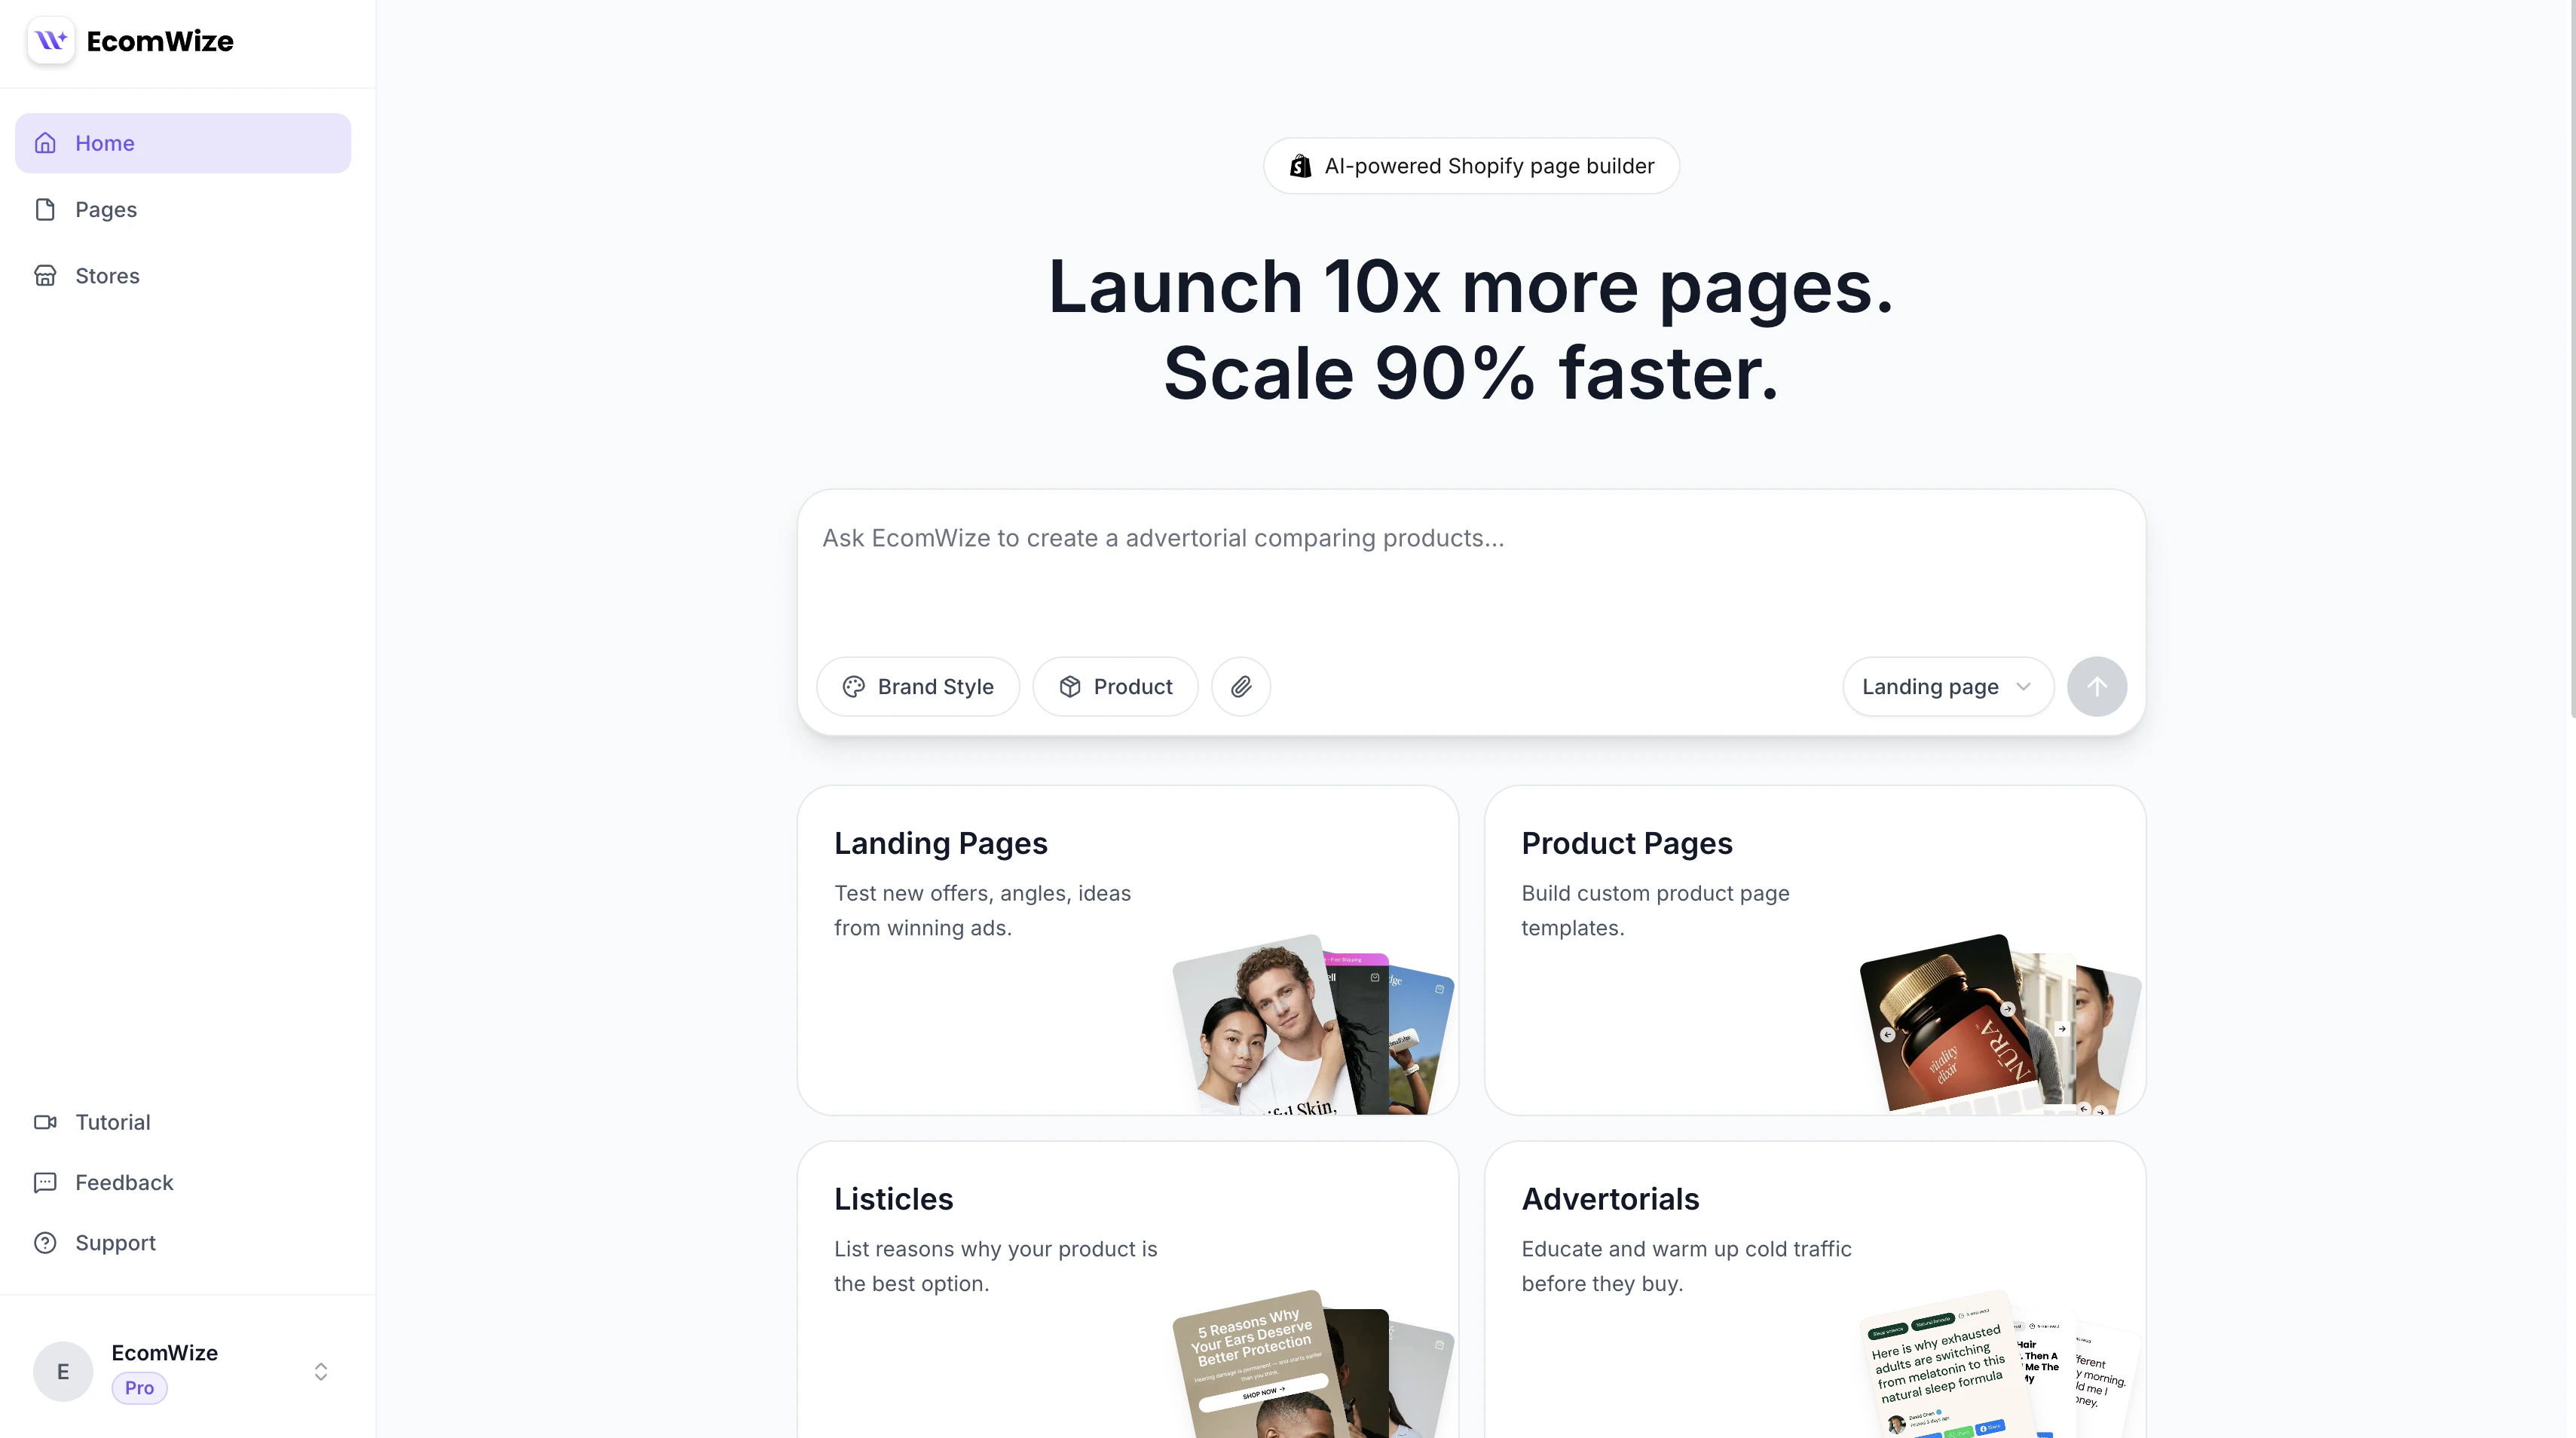 From the dashboard, you can:
* **Create a new page** using the prompt input or by selecting a page type card
* **Browse your existing pages** in the pages list
* **Connect a Shopify store** from the Stores page
* **Manage your brand styles** for consistent design across pages
* **Access account settings** including your plan and billing
Link your store to start publishing pages.
Build a landing page from scratch or from a template.
## Logging back in
EcomWize uses magic link authentication. To log in, enter your email address on the login page and click **Continue**. A sign-in link will be sent to your inbox -- click the link to access your account. No password is required.
From the dashboard, you can:
* **Create a new page** using the prompt input or by selecting a page type card
* **Browse your existing pages** in the pages list
* **Connect a Shopify store** from the Stores page
* **Manage your brand styles** for consistent design across pages
* **Access account settings** including your plan and billing
Link your store to start publishing pages.
Build a landing page from scratch or from a template.
## Logging back in
EcomWize uses magic link authentication. To log in, enter your email address on the login page and click **Continue**. A sign-in link will be sent to your inbox -- click the link to access your account. No password is required.